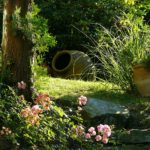
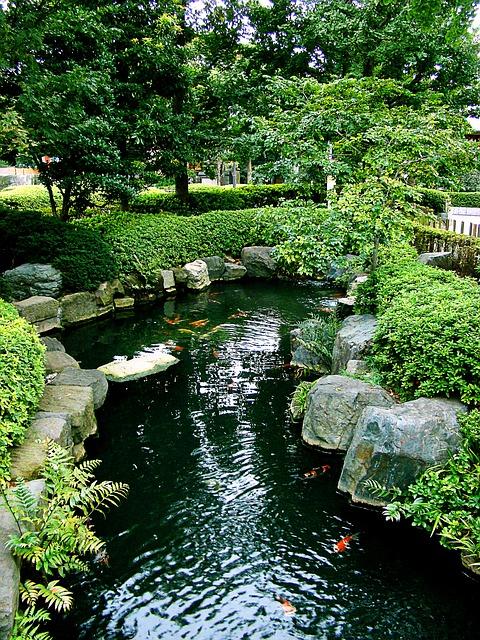
 A fish pond can be the focal point of your garden allowing you to build everything else up around it. However, paying for the installation of a full-sized pond can be fairly expensive, not to mention the cost of the materials. Though let’s say for a moment that you could handle the material costs and do the work yourself: Would that be worth it?
While investing some energy and free time, even the casual gardener and do-it-yourselfer will certainly be able to handle the process of installing a reasonably sized fish pond.
If you’ve decided to undergo this project, here’s what you’ll need to purchase:
● Lining
● Rocks or pebbles
● Pump
● Surrounding rocks
● Surrounding landscaping
These are the “base items” that you’ll need to construct your pond. Depending on the complexity of it, you might want to add bridges, stone walkways, or other aspects that we won’t cover here. Essentially, you can make it as complex as you want it to be.
We’ll just cover the basics, then you can add bells and whistles as you see fit.
1. Dig — It sounds simple, and it is for the most part. Measure out how big and deep you want your pond to be, purchase the corresponding sized lining and then go out and dig the foundation for your pond.
You’ll just need to be sure and measure as you go to make sure you’re not digging too wide or too deep. It’s hard work, but these ponds typically aren’t massive in size, which means it won’t take quite as long as you might think.
Plus, it’s the hardest part of the job, and it’s the first thing to check off the list. Once you’ve got the digging done, it’s all downhill from there.
2. Lining — There aredifferent types of lining you can get. You’ll either have a flimsy material that you lay into the hole you’ve dug, kind of like a blanket, or you’ll have a shell that’s pre-shaped. The shell lining is going to be a little less forgiving when it comes to the quality of your digging job, and is also less likely to leak water.
Consider the shape and contour of your pond before you decide which kind to get, as a more textured or layered pond would be better suited for a more forgiving liner.
3. Pump install — You’ve got some options when it comes to your pump as well. You can hide it in rocks or landscaping, or purchase an extension so that it can be kept in your house or garage. Most pumps you buy will come with specific instructions, so make sure you check to see what size pond the pump can handle, and then pick out a place to stash it so that it’s out of plain sight.
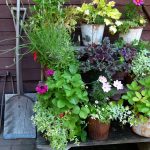
4. Landscaping — Once the pond and pump are installed, all that’s left to do is get things decorated. Make sure you line your pond with rocks or pebbles to hide the lining. You can then use rock or outdoor tiles for surrounding the pond, depending on whether you’re going for a natural look or not. Add plants and flowers around the pond as you see fit.
At this point, it’s all just a matter of style and preference. You can even add bigger components like a garden water fountain, particularly if you have several levels of water to work with.
Easier than it Looks
A fish pond sounds like a huge job on the surface, but in reality, there are only a few steps if you can plan well and buy the right materials. A fish pond is a foundational piece for any garden, so consider installing one early as opposed to waiting.
Marcela De Vivo is a freelance writer in Southern California. She loves being outdoors and enjoying the property around her home, and is always looking for ways to make it look more aesthetic. Follow her on Pinterest for more great ideas!