Wondering why your drains are clogged? While some clogs are inevitable, most of the time many clogs can be prevented. The infographic below courtesy of Pipetech Plumbing will give you all the info you need in order to avoid a clog.

Wondering why your drains are clogged? While some clogs are inevitable, most of the time many clogs can be prevented. The infographic below courtesy of Pipetech Plumbing will give you all the info you need in order to avoid a clog.
Winterizing your home is extremely important because it cuts energy use and costs and can help you and your family stay safe and warm during the long, cold months of winter. However, many homeowners don’t know where to start, or have trouble figuring out which projects to tackle first. The most important projects are those that will save you money while keeping your home safe from winter’s ravaging winds and temperatures, and many of them are easy to do.
Here are a few of the best ways to winterize your home and save money.
Ceiling fans
When the winter months come knocking, check your ceiling fans. Most of them come equipped with a switch that will allow you to change the airflow direction, meaning running it in reverse will pull warm air down from the ceiling. This can cut your heating costs by about ten percent, making it a quick, easy project that will show real results.
Clean those filters
Air filters can get dirty fast, especially in the furnace. Check and replace them often in winter months to keep airflow steady and to keep your furnace from kicking on needlessly and running at a high demand.
Replace windows and doors
If you can feel a cold breeze coming through the cracks around your windows and doors, it might be time to consider replacing them. Storm windows will help seal in warm air, keeping you from paying outrageous heating bills during winter months. Storm doors can also help save you money and will give you the extra benefit of allowing light and solar heat into your home.
Consider smart technology
Setting the thermostat at a lower temperature can help save you quite a bit of money during colder months, especially when you’re not home. It may be a little cooler when you return, but it will be worth it in the long run. Consider installing a “smart” thermostat that allows you to program the temperature from anywhere with a remote.
Clean the gutters
Making sure the gutters on your home are free of debris and leaves will ensure that water can flow freely rather than pool up and freeze, which can cause myriad problems in winter months.
Check your water heater
Before the coldest months hit, flush your water heater to remove any sediment that might hinder the heater’s ability to work up to its potential. Then, lower the temperature to make sure it won’t heat the water too much. 120 degrees is just about perfect, and will keep your heater from working overtime.
Don’t Forget the Pool
To get your pool ready for the winter, start by closing it and adjusting the pH to the appropriate level, adjusting water hardness to the proper level of calcium, adjusting alkalinity and chlorine, and then cleaning and storing equipment. Don’t forget to clean the pool filtration system.
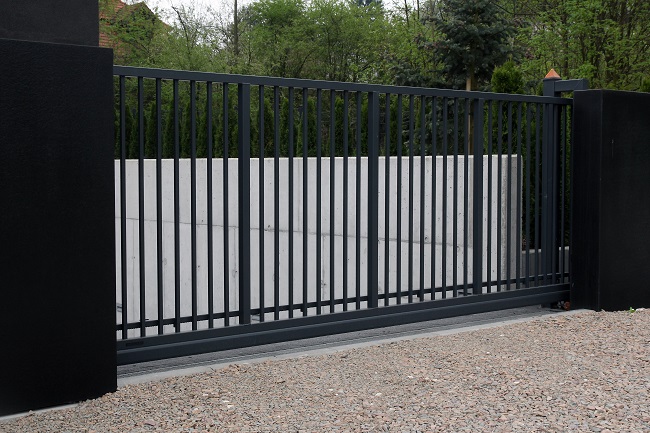
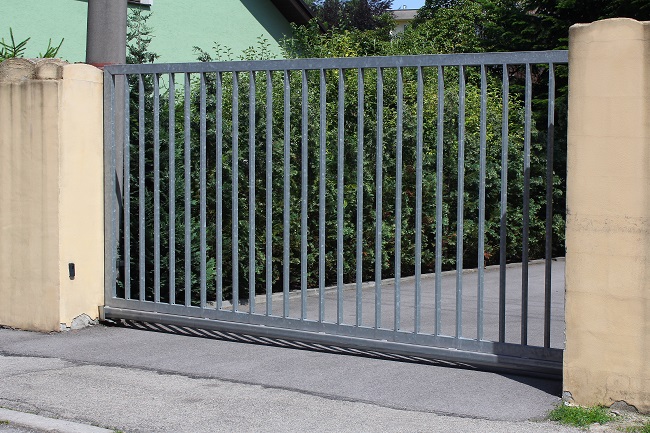
Having gates, automated or simple, is the best way to keep your residential as well as commercial property secure, safe and protected all the time. With properly maintained gates, you can rest in the knowledge that your commercial settings or residential possessions are going to be in safe hands. Different types of establishments need specific, purpose-oriented gates to ensure the property under your possession has firm, solid and lasting metal security standards.
Automated sliding gates, for instance, are often found in commercial settings especially just before the driveway. Commercial driveway gates, like all other types of gates, need perfect, regular maintenance. Gates are operated mechanically and involve many parts that drive its movements and operation. To ensure the security gates work consistently and with efficiency, you need to perform certain maintenance maneuvers so that it will remain operable and healthy for long period of time.
The bits of maintenance procedure depends on the type of automated gate you have installed for your commercial premises. It is essential to comply with regular maintenance standard which can be achievable through the help of a gate maintenance specialist. The following are the tips for commercial driveway gates maintenance:
Do thorough inspection
Kill the rust and take pre-emptive action
Don’t wait until you see rust running its regime all over your commercial driveway gates. As we all know, dirt and weather beatings affect the appearance of gates and form a coat of roast that does not look good. Notice the signs of metal parts getting the touch of rust.
You can simple wash it away with mild household detergent if it is not too extreme. But if the rust has got stubborn and deep, you can opt for scrubbing with sandpaper. But if the problem still persists, it is better to cease doing it all on your own and assign the task to professional automated gates specialist.
Keep the surface clean
Commercial settings need technical care and thorough maintenance for it to look clean. Make a promise to wash and wax your metal gates at least once a year. This way you will be able to see shine and gloss on gate surface for a long time. This is also not very expensive option compared to refurbishment. One thing to remember as caution is to never bring door opener in contact with water or it will damage the normal operation of commercial driveway gates.
Lubrication increases the life of its vital parts
Every mechanical parts that have to go through a lot of frictional movements need proper lubrication periodically. In case of automated commercial driveway gates, you should make a routine of lubricating chain, roller, pulley, screws and hinges. Use appropriate lubricant for the job. Gates won’t work smoothly if the surface is harsh. Lubrication also helps minimize the intensity of wear and tear, thus increasing their life.
Examine the reverse movement of automated gates
Check the strength of reverse functioning of automated sliding gates every month. You can test the accuracy of this function by placing an obstacle in the middle of the doorway. If the door opener senses the obstruction and stops the door from getting closed, it means the gates are working properly. If it swerves off this expected behavior and does not reverse, the door opener has to be inspected by a professional gate maintenance expert.
General care
Regular care and small maintenance efforts go a long way for keeping its longevity and performance up to expected standards. Commercial driveway gates require your proper care and general inspection so as to decide if they need high or medium scale maintenance. Also, it is wise to follow the maintenance guidelines provided by manufacturers and take help of their competent, qualified and trained service technicians in case the job is overwhelming.

Winter is almost here, and for many homeowners that will mean dealing with frozen and bursting pipes. If a pipe breaks, you might have to call a service like First General Services to fix water damage or even remediate mold, so it’s important to avoid this problem in the first place. Here are just five solutions that will keep your pipes from breaking and leaking once the temperature starts to drop.
In some cases, you can prevent your pipes from freezing simply by keeping water running through them. You shouldn’t turn on your faucets all the way of course, but all you need is a small trickle to prevent freezing in extremely cold weather.
Cabinets that are located underneath sinks often hide exposed pipes. If you want to keep these pipes from freezing, simply open up the cabinets so that the plumbing receives plenty of warmer air while you are out. This is especially important if your kitchen sink is against an outer wall, as is often the case.
If you’re the type to leave your garden hose connected to an outside faucet at all times, don’t forget to disconnect it before it gets too cold outside. Leaving a hose connected will prevent water from draining out of the hose bib, which can cause it to freeze. Disconnecting your hose and putting it away safely for the winter will also keep it in good shape once the next spring comes along.
If your home is occupied during the winter, you most likely will have your heat turned on. If you’re going to be leaving town for an extended period of time, you should still keep your thermostat turned to above 32 degrees Fahrenheit at all times.
Finally, you should take the time to insulate any exposed pipes in your basement or garage. These are especially vulnerable to the cold for obvious reasons. Plumbing insulation can be purchased at just about any hardware store, but if you don’t have any, some old blankets or towels held in place with duct tape will also do.
Broken pipes are a common problem in the winter, even in modern homes with plenty of insulation. As long as you follow these tips and keep an eye on your plumbing, your pipes should be safe this winter.
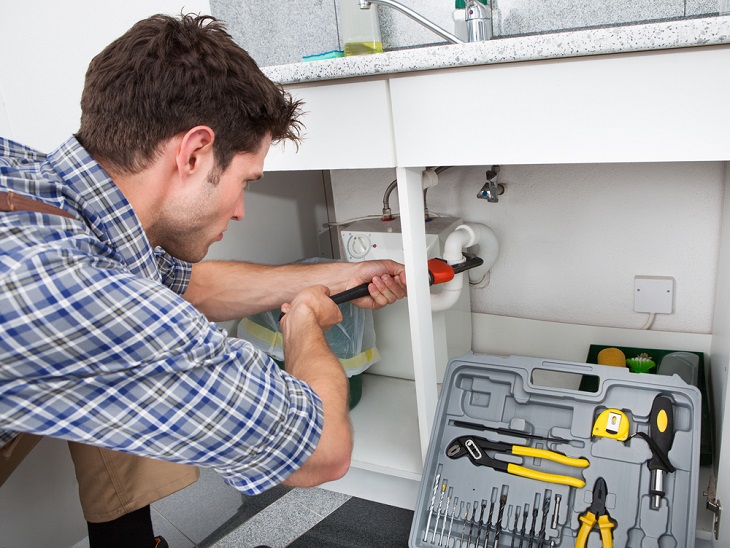
There was a time when the local handyman would just take care of all your home requirements including affordable plumbing & roofing services. However, these days, it is difficult to find people of that experience and caliber. Today, most people prefer going via companies or established service providers due to their quality of service. However, finding such providers is not an easy task and there are tons of things to consider before hiring them. Doing so will help you in finding services that are not only affordable but also provide you with premium quality.

Unlike just managing your plumbing needs, affordable plumbing & roofing services are more about taking care of technical details. In this reference, one must remember that you should always hire licensed professionals. First of all, they would be aware of the local or municipal guidelines of that area and thus adhere to these norms. The second aspect here is that with license comes credibility and authenticity. Not all those who are accredited or affiliated provide superior services but there is a reliability factor associated with the same.
Another aspect that you must consider, when hiring affordable plumbing & roofing services, is insurance! It is true that most authentic providers would have license along with insurance, which is mandatory as per federal laws. However, one of the aspects that should not be undermined here is that if they don’t have insurance then you are at a higher risk. Roofing and plumbing jobs involve some risks, especially climbing up to heights and dealing with metal. So in case there is an accident or the handyman or serviceman gets hurt, then this should be taken care of by their insurance. In some cases, these independent workers may not have insurance so it poses a clear risk for you as you would have to pay for the damages caused to such people, if any.
Along with this, you should also get proper quotes from these affordable plumbing & roofing services. Doing so would help you to get an estimate or approximate cost involved. Before you start of with any kind of roofing or plumbing services it is best to compare and get quotes from different vendors because there can be a possibility the pricing may not fit your budget. Being aware of the approximate prices would put you in a better position to understand how much you need to invest to avail these services.

Besides the above, one should also take note of some other aspects when hiring or finding affordable plumbing & roofing services. These include:
These are just some simple aspects that you must consider and evaluate for ensuring that you get premium services for your roofing and plumbing needs.
Your home feels like home because it is safe and secure—you trust it and feel confident that it is a healthy, protected environment for you and your family.
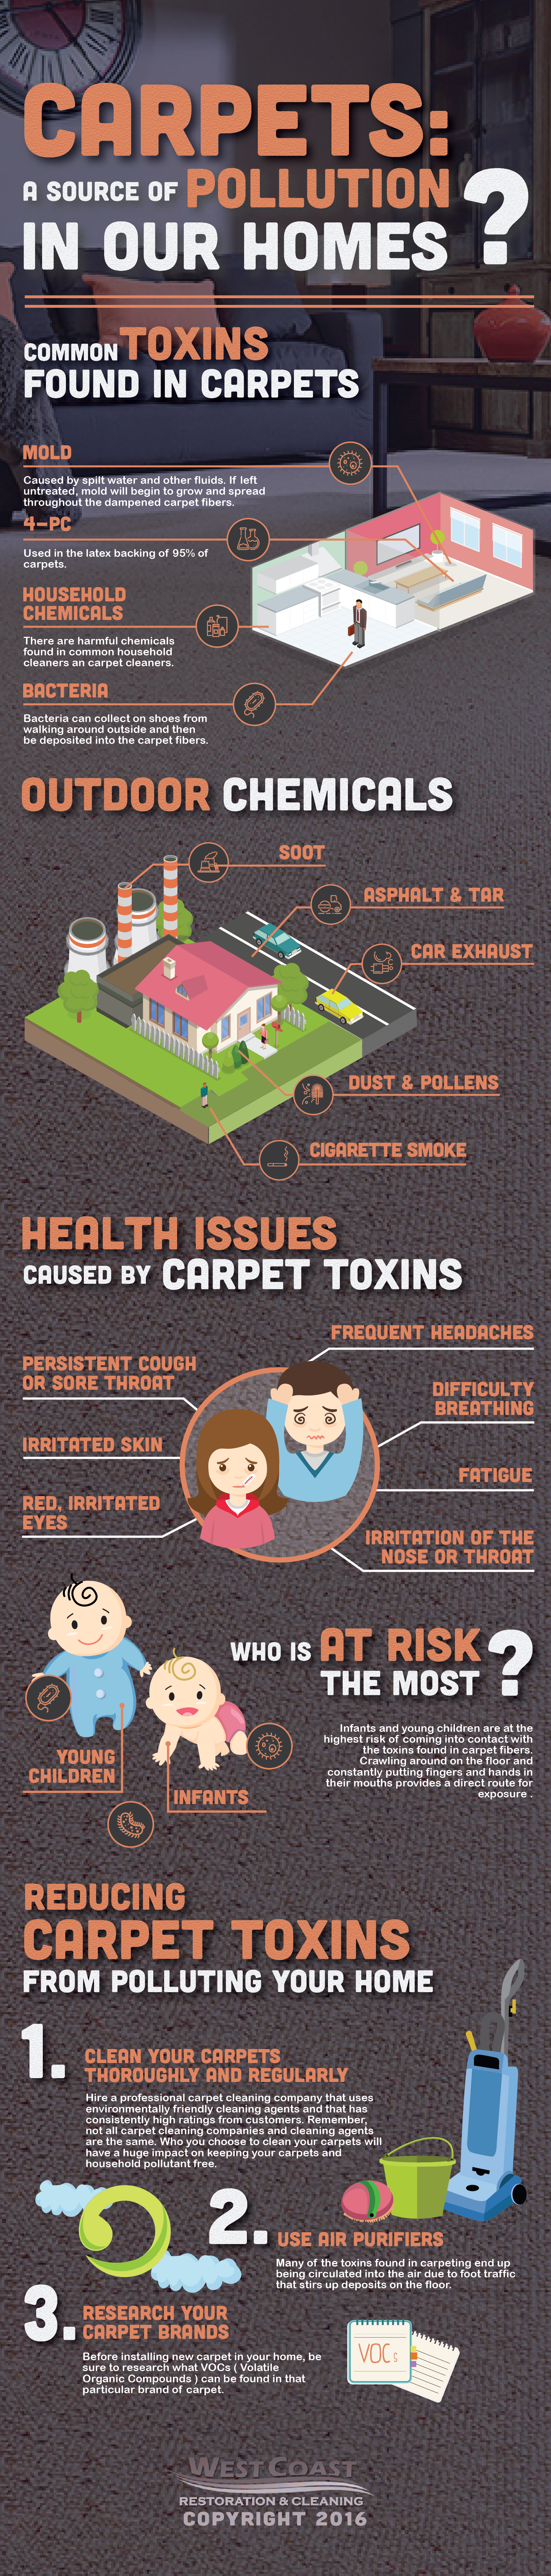
But what if your home is making your family sick because of invisible toxins in your carpets that you’re not aware of?
Carpets act like giant sponges, absorbing all of the toxins, pollutants, and bacteria that we track in from the outside. They soak up the invisible pollutants that are found inside our house as well, like the ones found in mold or cleaning solutions. Because carpets are designed to hide things like dirt and grime and look cleaner than they actually are, we usually don’t realize all the harmful things they contain.
Not only do they soak up what we track onto them, but carpets themselves (especially new ones) often contain toxic chemicals. Very few carpets today are made using natural products or by natural processes. The adhesive glue, the carpet cleaners and shampoos, the loose fibers—they all contain harmful chemicals that can lead to health problems for your family.
Keep your family safe by keeping your carpets clean and toxin-free. Check out this infographic that illustrates how pollutants are spread to your carpets and shows you how to maintain them so that your family is kept healthy and safe from the harmful things that collect on your floors.
About the Author:
Emily Childers is an author for West Coast Restoration & Cleaning—a family-owned and operated company, located in the heart of San Diego. They have years of experience and research dealing with the elimination of harmful chemicals and toxins that pollute homes and threaten the health and safety of families.
Basements are great places for home improvement projects. They can act as a storage space, entertainment area, impromptu room, or serve some other purpose. However, basements are also damp locations that are one of the biggest domestic odor producers. Unpleasant smells are usually the result of mildew and mold growth, so you should aim your efforts at these. Fortunately, there are many ways to improve the conditions and maximize the comfort in your basement.
Basement remodeling is one of the most exciting upgrades, and it is best handled by professionals. Bruzzese Home Improvements can carry out basement renovation for you and allow you to expand the living area. This gives you a well-designed and clean space. However, the problems could occur later, as the installations deteriorate. Also, not everyone can afford quality services, and many people go DIY when assembling a basement space.

Hence, some uninvited guests come to spoil the party: the incommodious smell and odor. Basements that smell like sewers are one of the most widespread issues homeowners deal with. Some of them decide to utilize perfumed candles or incense, but this brings only the temporary relief. Moreover, these products can give rise to various health issues. If you want to address the root of the problem, you have to take another approach.
It is advisable to first check the plumbing system and search for leaks and cracks. Even the tiniest fissures and crevices can cause severe damage over time and damp the walls. Repairing and sealing them should allow you to keep the basement dry, and a waterproof paint coat or sealant usually does the trick. Bear in mind, though, that the orientation of the terrain around the house could also cause rainwater puddles.
Also, if you have a water trap under the floor drain, there is a possibility that water evaporated and sewer gas came up through the drain. To combat this menace, you can pour the cooking oil down the drain. Furthermore, another source of the problem could be the ventilation system. The remedy for this situation is regular maintenance. So, sweep the vents and ducts annually and enjoy air which is odorless and pure.

The foul smells could also originate from the piled-up dirt or malodorous objects. Basements are often used as storages, and spaces that accommodate hoarding habits. Hence, it helps to de-clutter the space and get rid of items you do not really need, those that are only collecting dust and nasty smells. And it goes without saying that objects beyond repair have no place in your environment. Clothes that have been stored for a long time, upholstered furniture, and floor coverings should be washed and dried if you want to keep them.
Remember that it pays off to have tools ready in the store. Find the best air purifier for mold, which should be able to remove the very source of mildew and mold. Or, you can take advantage of homemade solutions, like undiluted vinegar or a mixture of water and bleach. Apply them to the trouble spots and just do a bit of scrubbing. Another DIY option is to use baking soda every few months to soak in the odor. So, choose your weapons and do not stop until the vile stench is dispelled from your home for good.
It is of the utmost importance to identify the source of the smell and treat it accordingly. Odors and other nuisances thrive in a certain kind of interior climate, predominantly in spaces that have problems with moisture and dust accumulation. So, wash and dry furniture and clothes thoroughly, and do away with the clutter. Conduct maintenance on a regular basis, and check the plumbing installations. Learn how to eradicate the smells and odors and continue using the space without any discomfort.
This article was written by Zoe Clark. Zoe is an environmentalist, home decorator and DIY enthusiast. When not obsessing about designing perfect homes, she is spending time with her family.
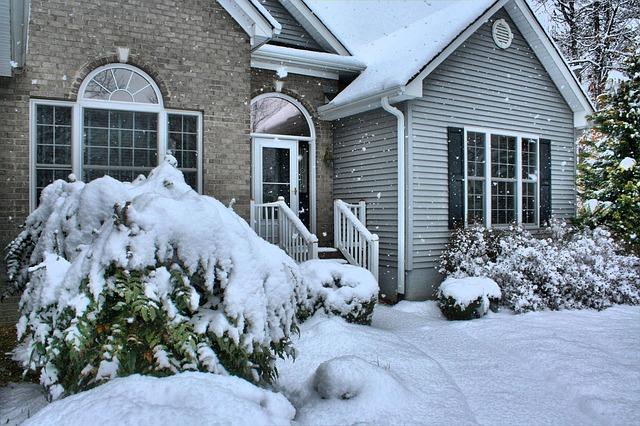
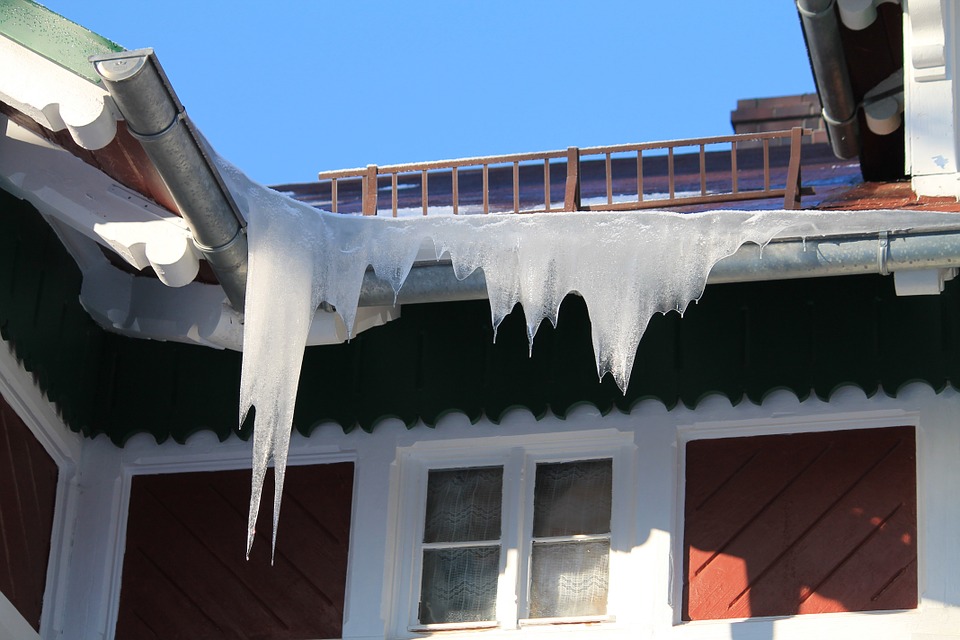
The winter season is known as a time when harsh weather arrives in most locations. From high winds to heavy snowfall, the weather can wreak havoc on a residential building. To winterize your property and keep it safe, there are a few important steps to take.

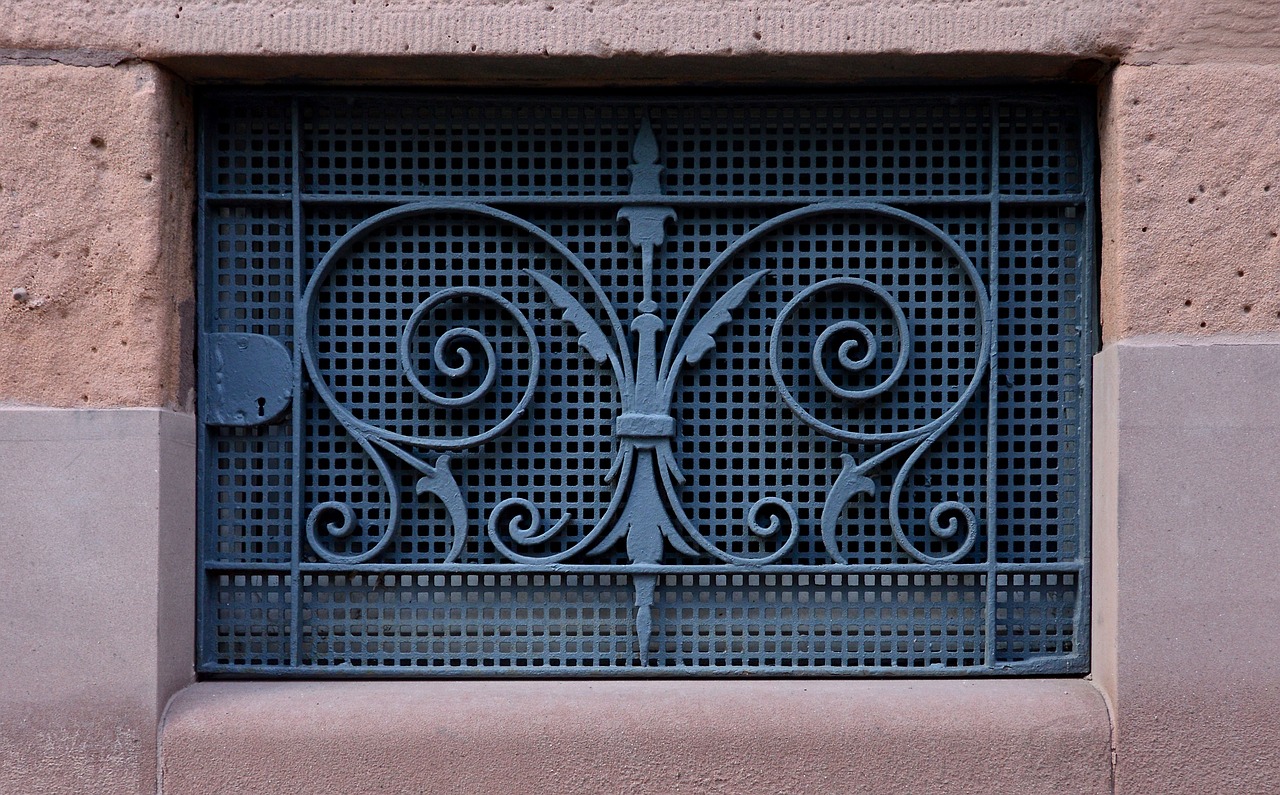
Add fans in the attic and install a vent to allow cool air to circulate in the space, which will prevent ice dams from forming on the roof. The attic influences the temperature of the roofing materials and will reduce the risk of damage if it’s kept at a moderate temperature.
Raccoons, squirrels, and small critters often look for shelter on residential properties during the winter season. Prevent the animals from making a home on your roof by cutting back tree branches that provide access to the building. This will also protect the home from damage when heavy storms arrive, which can cause the branches to have contact with the roof.
Drafts can cause cool air to come into the home and will also allow heat to escape due to holes that have formed in the siding or walls of the building. Caulk the drafts to seal the cracks or holes to reduce your energy usage and keep your home comfortable.
It’s important to ensure that your HVAC system is working well to ensure that it will heat your home during the winter months. Hire a professional like Doctor Fix-It to inspect the system and make any repairs that may be necessary. This will reduce the risk of the unit breaking in the middle of the night or during a snowstorm when you’re in need of heat.
One of the most common problems during the winter season are leaks that can develop in the wet climate. You can prevent water damage by replacing missing shingles or tiles on the roof. Hire a professional to inspect the structure and secure new materials with roofing cement that is applied onto the roof deck.
When you want to winterize your home and prepare it for the cold season ahead, there are several ways to get your property ready. By taking the right steps, you can feel comfortable spending plenty of time indoors and reduce the risk of damage to your home.

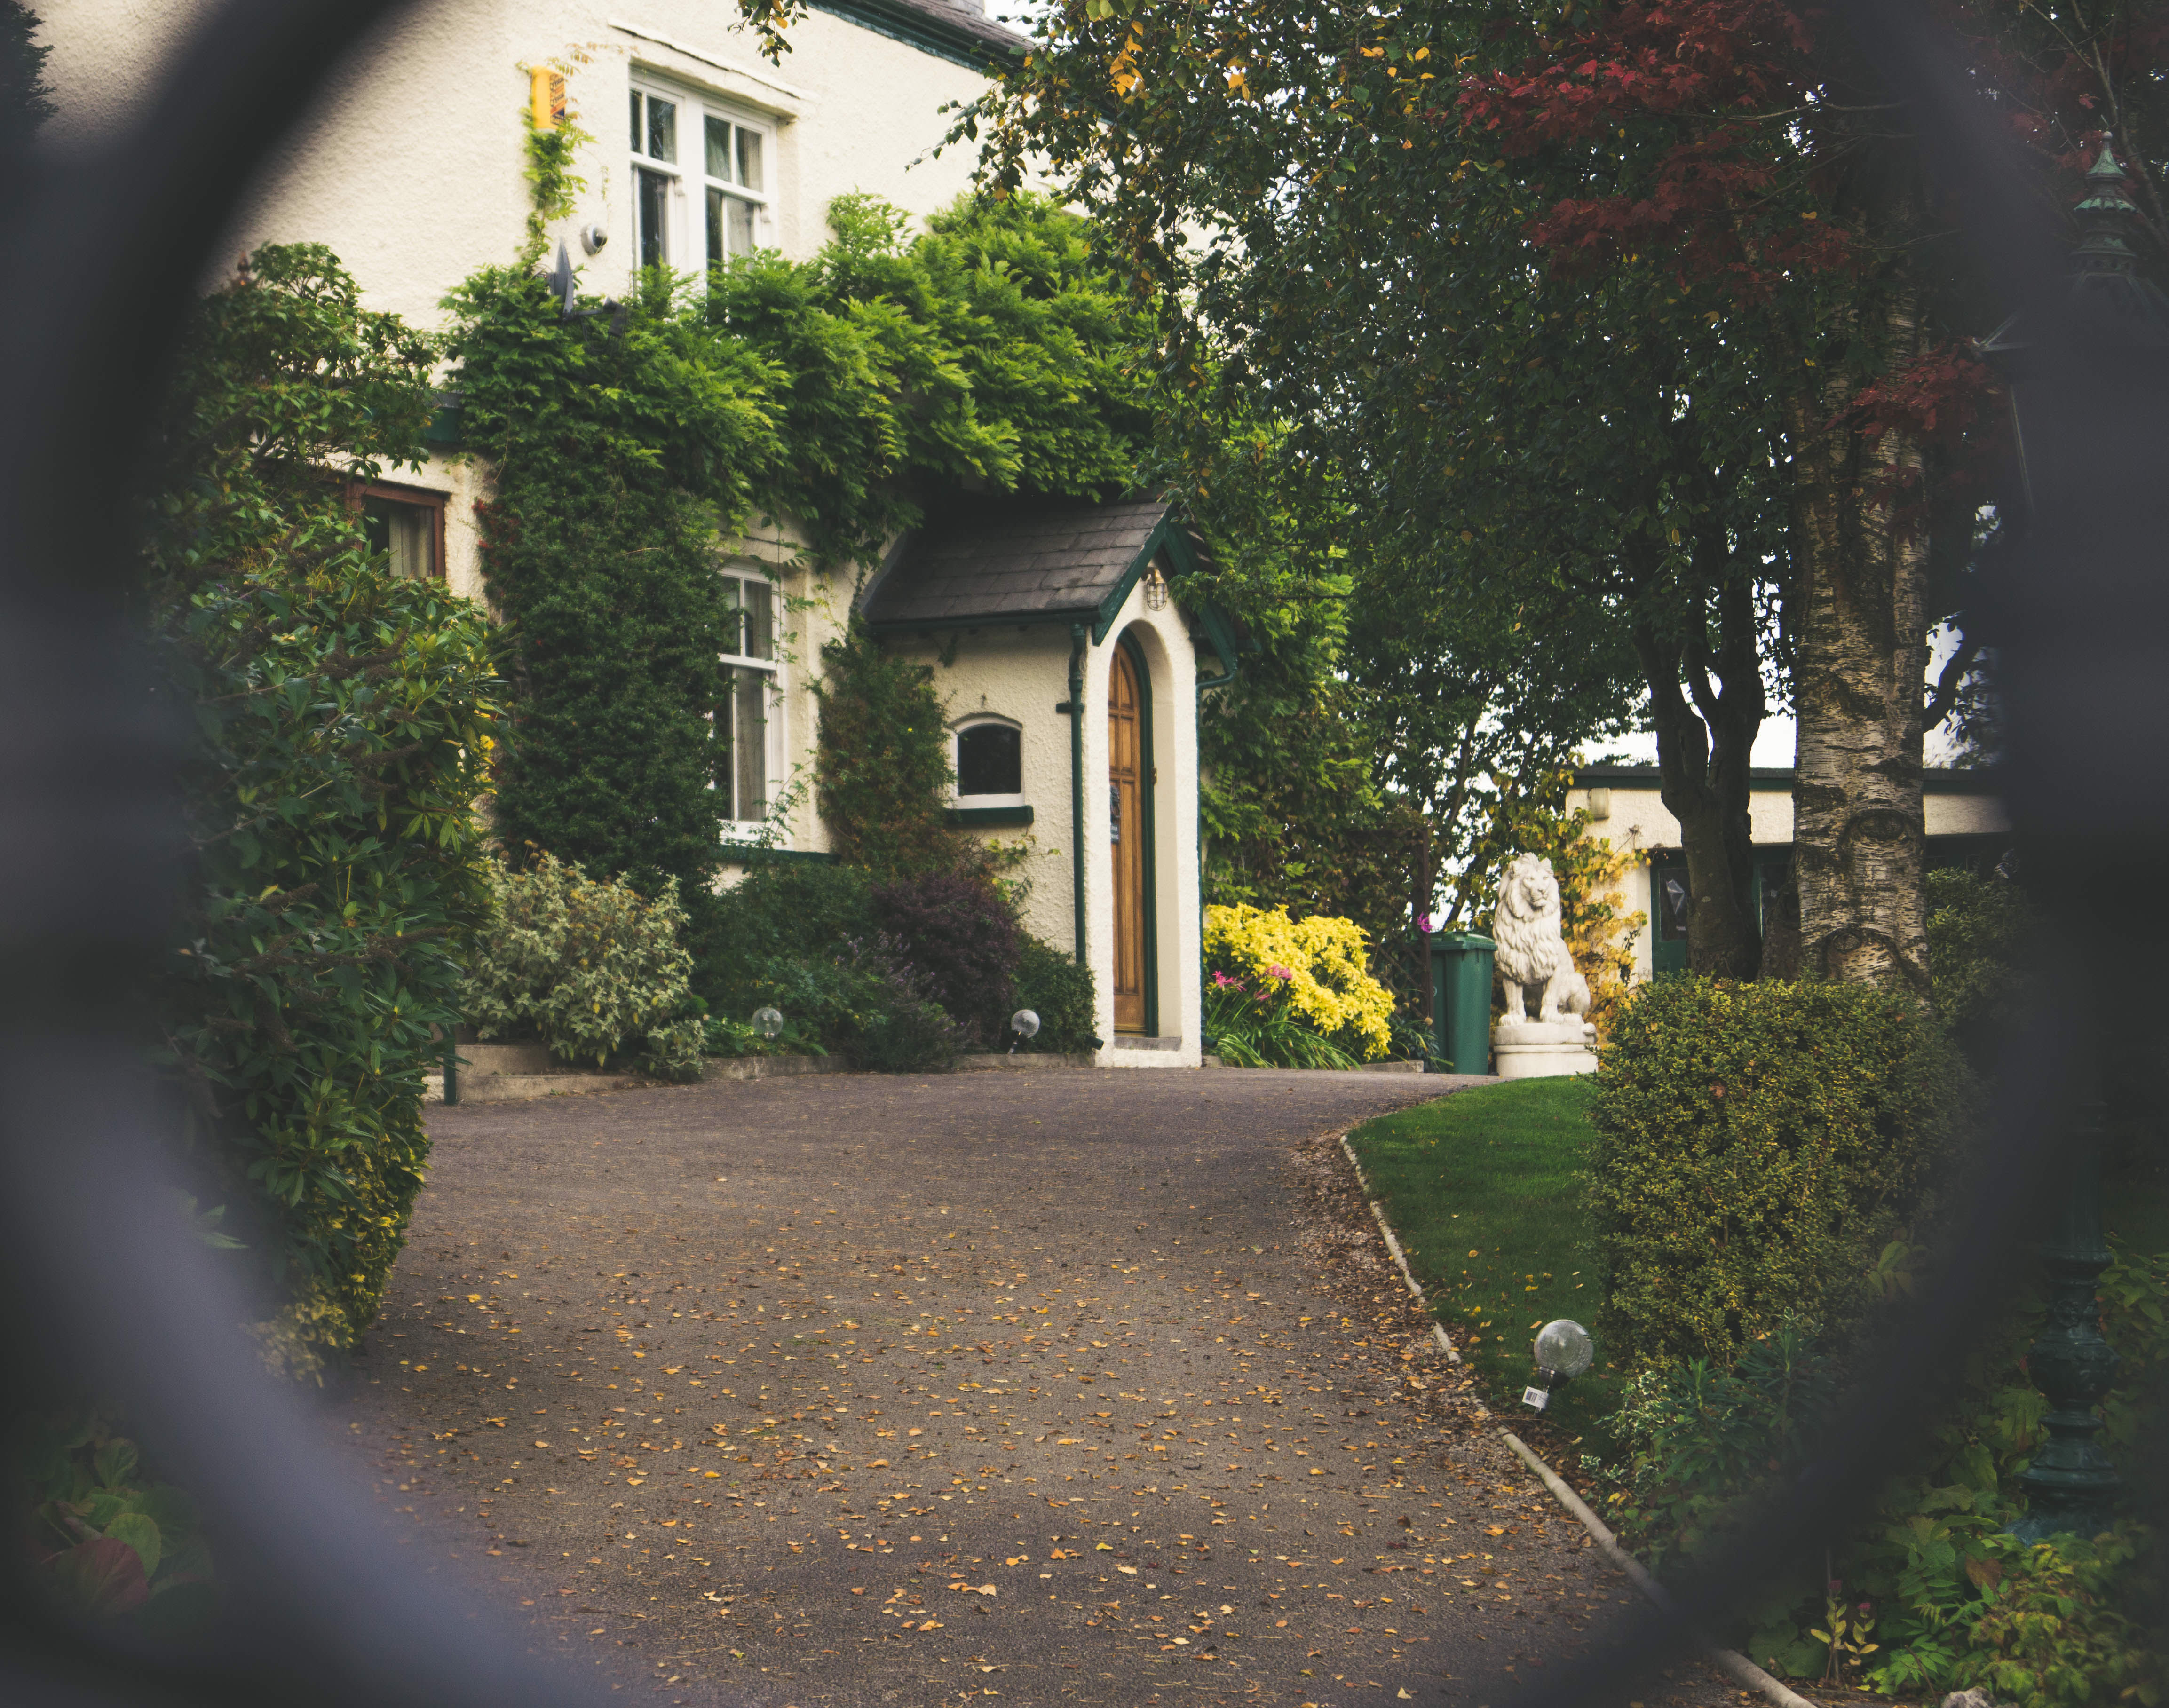
Summer gets all of the credit when it comes to the outdoors, and it’s no big surprise: everyone wants to soak up the sunshine as much as possible while it lasts. And, while some take the first falling leaf as a sign that it’s time to retreat indoors, you’re still on the outside looking in.
That’s because you know that your home needs a bit of a sprucing-up this fall before it’s too cold to get any work done on the exterior of your house. You’ve had your summer fun, so add one or more of the following five projects to your list so that your place looks its best — and so that you can relax when everyone else tackles home-update projects when the warmer weather returns.
If you’re feeling in a particular mood to paint, you can also brush a coat onto your home’s shutters. The result will be more uniform and even more fall-friendly if your colors match the changing of the season.
You can even take time to update the hardware on your mailbox. And if you’re feeling extra ambitious, combine tips one and two: repaint your mailbox and give it a new set of numbers. You’ll be amazed at what a difference that makes to the overall look of your home.
Depending on whether your plants are one-time or annual bloomers, you will need to either pull them up or trim them back for winter. Overgrown hedges will have to go, too. In completing this task, you’ll see that the entire front of your home looks cleaner and clearer. In other words, all eyes will be on the work that you’ve put in to spruce up your home’s exterior.
Think again.
Your garage door can make more of a statement than it is right now if you choose to replace it with something with a bit more character. A rustic wooden door, for example, will give your home more of a custom, country feel. You might even find that a new garage door will save you on heating costs because they provide more effective insulation. There’s not much better than an upgrade that improves both function and looks.
The best news here is that you don’t have to install a complicated wiring system or rely on battery after battery to power your lighting system. Instead, you can purchase solar lights or another low-voltage option that requires little input from you to shed just the right amount of mood lighting.
Fall In Love With Your Home
No matter which project(s) you decide to tackle, it’s almost guaranteed that you’ll be pleased with the end result. And, with colder weather coming, you’ll be looking even more forward to driving up, seeing the refreshed façade of your house, and heading inside for a warm night with the ones you love.
Guest post by:
 Kacey is a lifestyle blogger for The Drifter Collective, an eclectic lifestyle blog that expresses various forms of style through the influence of culture and the world around us. Kacey graduated with a degree in Communications while working for a lifestyle magazine. She has been able to fully embrace herself with the knowledge of nature, the power of exploring other locations and cultures, all while portraying her love for the world around her through her visually pleasing, culturally embracing and inspiring posts.
https://www.pinterest.com/kaceymya/
https://www.instagram.com/thedriftercollective/
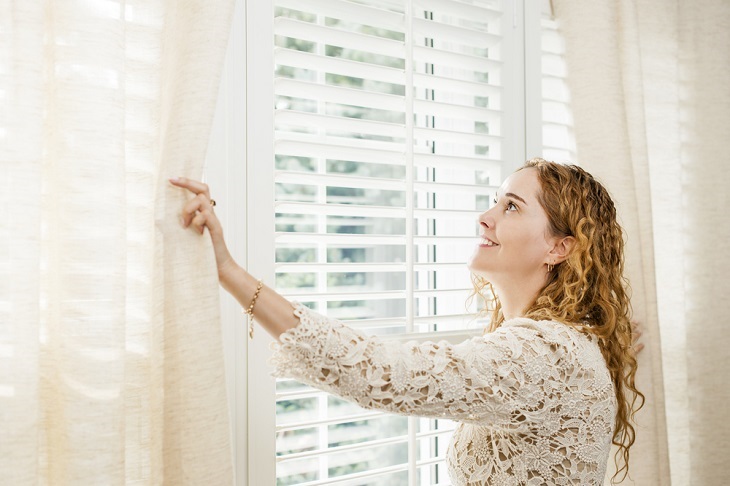
One of the most popular decorative items for the home and office buildings is the ‘window blinds’. There are some varieties of window blinds to suit the customer’s taste. To just give a heads up about this window blind, here is the list of different varieties available.
To my knowledge, they say that it is very important to regularly clean them and there are strict dos and don’ts to be followed while cleaning them. Few methods of cleaning are applicable to all blinds irrespective of their type. Yet, it is necessary to clean them based on the way it has been built. First, let us see some basic cleaning techniques for any type of window blind.
The advantages of using vinegar to clean the blinds:
Vinegar is one of the cheapest materials that can be used for cleaning purposes. It helps in making the dust get released into the air rather than just sticking to the cloth, socks or the gloves that were been used. It is definitely a better choice to be used on any material or surface when compared to some bad chemical solutions.
Some tips and precautions to be considered before cleaning
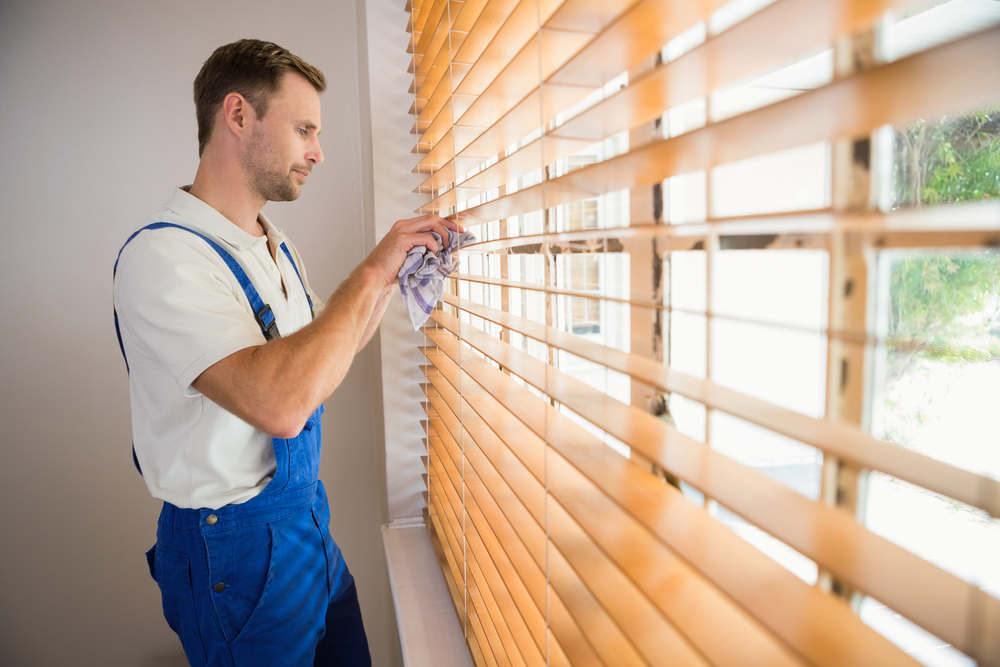
When cleaning wooden blinds, never use water and make it wet, just regularly damp it. Also look into the guiding manual and check for any special instructions are mentioned in it. Ensure that you take care of your eyes and skin and cover them all while dusting and you need to make sure that you keep all your cleaning materials like vinegar, away from children. It will also be good if you can use a fabric softening sheets after the cleaning the slates. This prevents dust getting deposited and also you will get a nice aroma in the room/home.
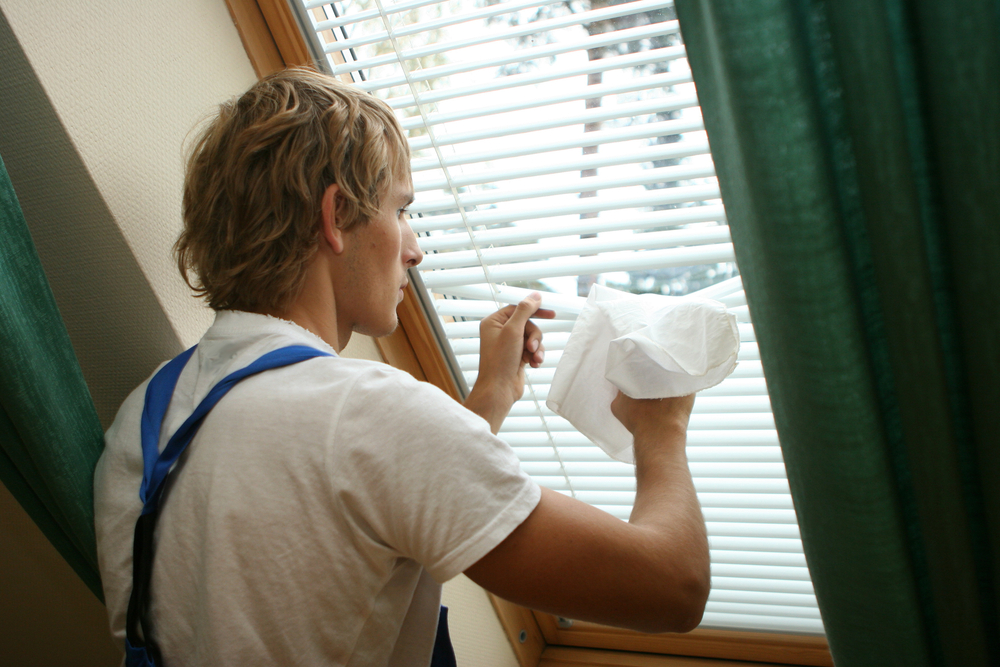
Fastest as well as a very effective method to clean the window blinds.
Thing needed to start this faster cleaning method are:
Cover the dust cloth around the tongs and tighten them using two rubber bands. You need to make sure that the soft side of the cloth is not used for cleaning; the rough side at the back will give better results in dusting. Now you will see the magic in a second! Just clasp the tongs on each of the slate separately and move from left to right or vice versa and you will see that all the dust is gone. This is the best way you could do blind cleaning ever. You can also use some of your favorite cleaning solution on the dry cloth and get them do a better cleaning job. You can change the clothes during your next cleaning and wash the tongs along with the kitchen utensils and save it for next time. This method saves a lot of time and makes the cleaning a lot easier.
200 Eastchester Road New Rochelle, NY 10801
Copyright © 2024 | Bruzzese Home Improvements | All Right Reserved | Web Design & Development by QualityMust