fbpx

Drip, Drip, Drip Driving You Mad? 4 Common Causes of a Leaky Faucet

Drip, Drip, Drip Driving You Mad 4 Common Causes of a Leaky Faucet

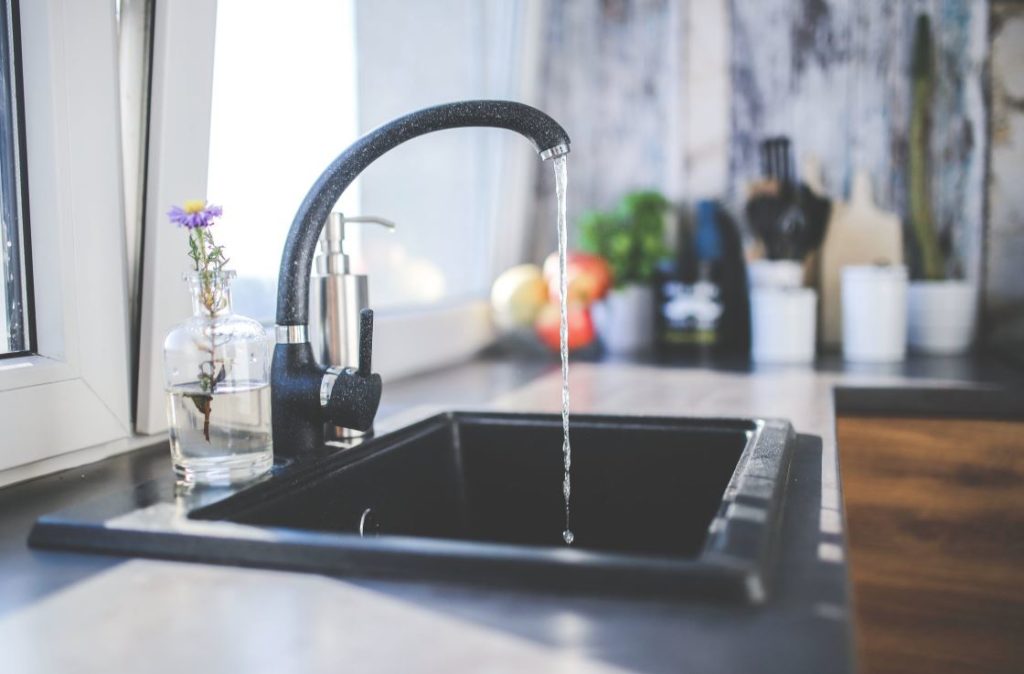
The continuous and irritating sound of water dripping when the faucet is off is enough reason to go insane. What’s more, a leaky faucet can increase your utility bills significantly. Maybe you’ve wondered what the causes of these leaks are. Here are four common reasons behind your leaky faucet.

Cartridge

Underneath the faucet handle’s decoration is the cartridge. A water valve controls water flow. As the handle turns, half of the cartridge turns, too, opening a hole to release water. The other cartridge half contains the hole for water to pass through to the spout. As the handle turns off, the cartridge stops water from passing through. If the handle is leaking and the washer is new, it’s time for a cartridge replacement.

Washer

The faucet washer is a small, black, circular, rubbery item located underneath the cartridge inside the handle. (Ball handles have two washers within the same handle.) When the valve and washer rub against each other, the valve wears out the washer until it drips at the spout. In fact, most drips come from a faulty washer. Replace the used one with a new one. Expect this leak more often in compression faucets.

Valve Corrosion

With the exception of ball faucets, faucets consist of handles and a spout. Water, of course, originates from the spout. The valve connects the spout to the faucet, and over time it can corrode. Corrosion occurs when water sediments eat away at the valve seat, eventually leaking around the spout base. In fact, most noticeable leaks around the spout base come from valve corrosion. Most valve corrosion is salvageable with cleanup around the base rather than a replacement. However, if the corrosion destroyed the spout, it’s time to replace it.

O-ring

Like the washer, the O-ring is a circular and rubbery disc, too. The O-ring is located inside the faucet spout, and it holds the spout in place. It prevents the spout from leaking water near the spout. If the water is leaking at the spout and/or handles, the O-ring may be loose or worn. Replace the damaged O-ring with a new one. Expect the O-ring replacement to happen more often in cartridge faucets.

Every time the water drips, you can count on the water bill rising. You can also guarantee a persistent annoyance in your home. Don’t delay repairing a leaky faucet. If necessary, contact your local plumber for professional help.

Looking Ahead: 4 Ways to Prepare Your Home for Warmer Months

Looking Ahead 4 Ways to Prepare Your Home for Warmer Months

As the warmer months of the year approach, the need to prepare each home for the change from cold to hot is vital to be ready for every eventuality. Preparing a home for the warmer months can do more than making sure one is ready for any emergency situations, it can also save the homeowner money on their utility bills.

Maintain HVAC systems

Most HVAC companies recommend undergoing a maintenance checkup twice a year during the Fall and Spring to make sure the system is working effectively before reaching peak use times. If the homeowner is not wanting to deal with a professional HVAC company, the first step to take for some home repairs is to turn on the cooling system and ensure it is working effectively before it is needed in the warmer months of the year. One of the major trends for preparing for the warmer months is to install a programmable thermostat in a bid to save on bills. The Department of Energy recommends turning a programmable thermostat as high as possible in the warmer months and presetting a temperature for times spent away from home.

Check decorations and shutters

When preparing a home for the warmer months, one often overlooks what are often seen as decorations around the home. Dusting and switching ceiling fans to circulate air for the warmer months is the first step to take to ensure cooling is undertaken in many different ways. A second issue to consider is the use of shade to protect against the heat of the sun using shutters, which should be checked for damage following the cooler months of the year.

Prepare for storms

Warmer temperatures are usually accompanied by storms and heavy rain for many parts of the world. An area often overlooked is checking for leaks and areas which could be damaged by a storm or heavy rain, such as cracks and holes in walls and roofing systems. Gutters play a role in protecting against storm damage and should be cleaned and checked for damage as the warmer times approach.

Protect against bugs

The problem of bugs is one we are all worried about as the warmer times of the year roll around again. Bugs of all kinds are unable to survive during the cooler months and appear in the Spring meaning a homeowner should seal their home and consider employing a pest control service if needed.

Taking a few small steps in the months before the warmest times of the year come around can have a major impact on the success felt during the Summer. Shutters provide shade from the radiant heat of the Sun and should be considered for areas of full sun throughout most days.

Repair or Replace? How to Know What Your Home Needs

Repair or Replace How to Know What Your Home Needs

As a homeowner, there’ll be times when you’re faced with deciding whether to repair or replace something that isn’t working properly. When it’s small stuff, buying a replacement probably won’t affect the budget. However, when a replacement or repair is going to be costly, you may find yourself needing to assess both options to make the wisest choice.

Heating and Cooling System

When it’s your heating and cooling system that isn’t working properly, having it repaired is usually the first option. However, if your system begins to require frequent repairs, it may be time to replace it. A newer system would operate more efficiently. It would also have a warranty to cover repair costs for a period of time.

Roof

There are several factors to consider when deciding whether to repair or replace a roof. Some leaks in a roof can easily be repaired. Missing shingles can be replaced. However, if the leaks are numerous, a replacement would likely be a better option. In some instances, replacing the roof may be your only choice because you may not be able to add another layer of roofing material to the existing roof.

Lawn

If your lawn looks unattractive due to bare spots, determining the cause and taking steps to repair those sections may be all that’s needed to make your lawn beautiful again. Various types of disease or too much shade can be the reason you have bare spots. There may come a time when replacing your lawn is the most economical solution. During the replacement process, issues such as poor drainage can be addressed so that your new lawn installation is effective and thrives.

Appliances

If an appliance that’s under warranty isn’t working properly, you should take advantage of the warranty and have it repaired. Before spending money on an appliance repair, check the appliance manual for troubleshooting ideas. You may be able to solve the problem yourself. As appliances get older, they often become less efficient. Rather than spending money to repair an outdated appliance, buying a new one is often the best choice. If an appliance is near the end of the lifespan for that appliance, replacing it may be your best option.

Unexpected maintenance issues can be an inconvenience. They can also put a strain on your budget. It’s good to set aside some money each month to cover repair and replacement costs.

5 Home Maintenance Details You Shouldn’t Neglect

5 Home Maintenance Details You Shouldn't Neglect

Your home is one of your most valuable assets. Yet, a lot of home-owners neglect doing even simple maintenance to their home. Many of these maintenance issues only take a minute or two to perform. Instead of neglecting your home in this way, you should take the time to carry out minor maintenance tasks that help to keep your home in good shape.

Change Your Air Filter

When it comes to doing simple maintenance on your home, changing your air filter on a regular basis is key to improving the air quality in your home. Plus, it only takes a minute or so to stay on top of this easy maintenance issue. This is especially important if you live in a home with one or more pets.

Change Your Water Filter Cartridge

Whether you have a water filter that sits under the sink or directly on the faucet, it is likely the case that you need to replace the filter cartridge a few times each year for ensuring the quality of your water. In many cases this takes only a minute to do. Keeping up with this maintenance issue helps to ensure that harmful chemicals and even viral agents are not making it into your drinking water.

Your Smoke Detector

It is a good idea to change the batteries on your smoke detector as recommended by the manufacturer. This simple routine maintenance issue is both quick and easy to perform. Additionally, it helps to keep your family safe in the event there is a fire in your home.

Inspect Your Roof

Every few months, it is a good idea to pull the ladder out of the garage and take a closer look at the condition of your roof or call up your local roofing company to come inspect it for you. If you notice significant damage to the structure of your roof, then it may be time to do something about it. For example, getting a metal roof replacement could help your home withstand the elements far better than with a traditional shingle style roof, depending on what kind of weather is typical in your area.

Cleaning Your Gutters

Once every couple of weeks, you should stay on top of the gutters of your home. By identifying and removing debris from your gutters, you will make this maintenance issue an easy to execute task on your to do list. It only takes a minute to inspect your gutters for any problems requiring your immediate attention.

The ability to keep your home in good shape, for the long term, depends on doing regular maintenance on your home. Every home owner should be willing to do simple maintenance tasks that helps to ensure that your home remains a safe, livable space to occupy. From changing filters to doing basic inspections, you will be keeping on top of maintenance issues that only require a minute here or a minute there to perform.


5 Chemical-free Ways To Keep Your Home Pest Free

5 Chemical Free Ways To Keep Your Home Pest Free

If you are worried about using man-made chemicals in your home to eliminate or deter pests, then you should know that there are ways to keep your home pest-free without dangerous chemicals.

Plant Certain Types of Plants Outside Your Home 
You can plant flowers, herbs and shrubs that will repel pests outside your home. Place these plants in flowerpots on the porch, or you can plant the seedlings directly into the soil. Some of the plants that you can use include petunias, basil, garlic, mint and marigolds.

Use Ultrasonic Devices Inside Your Home 
There are affordable ultrasonic devices that you can use in your home to deter pests. You can’t hear the sounds from one of these devices, but the insects, rodents or spiders are annoyed by the noise. Many of these devices are designed for plugging into an electrical outlet, so you don’t need any specialized wiring for the equipment. An alternative to traps that kill pests or fill your home with unwanted chemicals is a catch and release trap with good old fashioned peanut butter.

Application of Essential Oils for Pests 
You can find high-quality essential oils at local or online stores, and some of these products will deter pests. You can mix essential oils with water in a spray bottle to apply to windowsills or baseboards, but you can also add essential oils to homemade cleaning solutions. Some of the best essential oil fragrances to use include eucalyptus, lavender or peppermint.

Have Family Pets to Deter Pests 
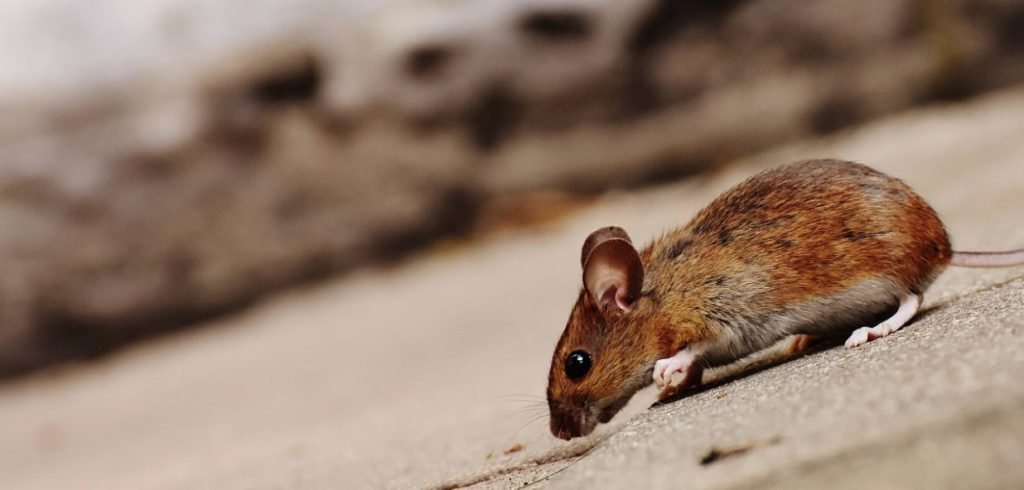
Pests such as mice, rats or wildlife animals will often avoid entering a home where there are family pets such as cats and dogs. You can train your family pets to detect invasions of rodents, and some cats or dogs will also alert you when insects or spiders are in a room.

Repair Your Home’s Garage Door 
If your home’s garage door isn’t closing completely or if it has gaps around the edges, then pests such as mice, insects and spiders can invade a building. Many people need to replace their entire garage door. You may be able to have it repaired by a technician who specializes in garage door repair, like those at R & S Garage Door Inc. When you fix or replace your garage door you will keep pests from entering and spreading disease. Keeping pests out of your garage can prevent infestations into the other areas of your home.

Inspect Your Home Frequently 
In addition to all of these natural pest deterrent methods, you should keep your home clean and free of clutter. While you are vacuuming, mopping or dusting your home, make sure to inspect for any evidence of pests such as cobwebs, droppings or tufts of fur.


Outdoor Tiles: A Comprehensive Maintenance Guide

outdoor tiles

Tiles are a great aesthetic addition to any outdoor area, such as the front porch, the walkway leading to the garage or the house, or the entire backyard patio, seating area, and beyond. Depending on the material, tiles are durable, versatile, they come in various colours and shapes, and they can serve a household for years if not decades.

However, in order to achieve this synergy of aesthetics and functionality, there is a need to adhere to proper upkeep and maintenance on a regular basis. Much like anything in your home, if it is to preserve its aesthetic appeal, it requires a regular scrub-and-clean. So, let’s take a look at how you can care for your outdoor tiles with ease for maximum bling and long-lasting durability.

Cleaning and caring for wooden tiles

Let’s start with the most fragile material out there, the wooden tile. Wooden tiles are beautiful, there is no doubt about that, but in order to retain their shine and vibrancy, they do require proper maintenance. You can start by sweeping wood or composite tiles three to four times a week with a soft bristle broom to keep dust and debris off the surface.

The next step would be to wash the tiles once a month with a mixture of lukewarm water and a few drops of mild dish soap. Be sure to use a soft mop for this purpose, stroking the surface in overlapping circles until it is free of dirt. Don’t forget to rinse the tiles with clean water afterwards.

While monthly cleaning is required, you also want to clean any grease stains as soon as you notice them in order to avoid caked stains that can be extremely difficult to eliminate. A good upkeep idea is to deep clean your tiles twice a year with a proprietary cleaner – make sure it has sodium hypochlorite, which will help prevent mould and mildew. Lastly, avoid using abrasive cleaners at all costs.

Cleaning and caring for concrete tiles

Concrete tiles are one of the most versatile and aesthetic features in any outdoor space, as they come in a variety of colours, finishes, and designs that can enrich the outdoor area of your home. Some of the most common types in an outdoor setting include granite, slate, marble, sandstone, and limestone.

Before you get into stuck in with the cleaning and proper annual care, you should consider tile sealing as a great preventative measure for all upkeep hardships down the road. Applying a concrete sealer to your tiles is a good way to prevent damage to the surface, and make cleaning a breeze. A good sealer will also safeguard the aesthetics of the tiles from continuous sun exposure.

As far as maintenance goes, you can start by cleaning the surface with a dry mop every two days to prevent sand and grit accumulation. After that, you can use a mixture of lukewarm water and mild dish soap to thoroughly clean the surface, once every month or so. You do want to be careful with concrete, though, and mop the tiles in concentric circles in order to prevent streaking.

You can also use a bleach solution if there is a need to eliminate algae or moss accumulation. Don’t forget to rinse the surface thoroughly with clean water. As with wooden tiles, abrasive cleaning agents should be avoided at all costs.

outdoor tile maintenance

Cleaning and caring for porcelain tiles

When it comes to cleaning and caring for porcelain tiles, it’s best to sweep the surface daily using a soft bristle brush. You can also use the adequate vacuum attachment to expedite the process. It’s important to do this regularly in order to prevent hard stains.

The next step is to clean the tiles with warm, clean water on a weekly basis. There is no need to use soap for this type of surface, as regular cleaning is sufficient to eliminate dirt and grime. Instead of leaving the tiles to dry naturally, be sure to sweep the surface with a dry cloth to avoid moisture-related problems down the road.

Once a month, you can schedule a thorough cleaning session to restore the surface to its natural beauty and shine. Mix clean, lukewarm water and 14 cup (about 60ml) of white vinegar in a bucket, dip the mop into the solution and proceed to mop the surface in circles in order to loosen those hard stains. After that, you want to rinse the surface with clean water and dry it thoroughly. Be sure to avoid abrasive cleaners here as well.

Tile maintenance, no matter the material, needn’t be a cumbersome chore. Rather, it should be a quick, and pain-free task that will restore the beauty of your outdoor tiles, and help them preserve their look and structural integrity throughout the years.

Dead Trees: 3 Reasons They Can be Dangerous for Your Home and Yard

Dead trees are more than just an eyesore on your property. They also pose certain hazards that could jeopardize your home and yard. Here are three ways that dead trees can be especially dangerous for your property.

Personal and Property Damage

The branches of dead trees are at greater risk of snapping and falling at any given time. When these branches fall, they could land on you and result in serious bodily harm. Branches that fall from dead trees might also land on your roof or fence and cause major property damage. The entire tree could also topple if it’s dead and cause more extensive destruction. If any dead trees or branches fall into your neighbor’s yard, you’ll likely be liable for any damage. Parts of dead trees are especially more prone to collapsing during heavy rain, wind and snow storms.

Harmful to Other Trees

If you have a tree that died from a disease, this disease may still be active and wind up affecting nearby trees that are still alive. Contagious diseases can spread from a dead tree to a living tree easier than you might think and end up killing your existing vegetation. Fungal growth on a dead tree is another culprit that could be dangerous for adjacent trees. Plus, a dead tree can overcrowd your yard and make it more difficult for other trees and vegetation to grow healthy. To avoid harm to your other trees, you should hire professional arborists from a company like Pete & Ron’s Tree Service, Inc. to remove any dead trees on your property.

More Pests

Certain types of animals that are known to wreak havoc on properties might end up building a home in a dead tree. Living trees can also attract more pests, but at least trees that are still alive can produce more oxygen and help keep soil intact. Dead trees serve no real purpose and can be a haven for wild animals, so it’s best to have them removed promptly. Critters living in these trees will have easier access to your home. According to Angie’s List, some of the pests that you might encounter from having dead trees include rats and termites. Your dead trees can also provide a haven for black turpentine beetles, fall webworms and gypsy moths.

Having dead trees on your property can cause many problems. By getting rid of your dead trees, you’ll have an easier time keeping your premises intact with fewer problems.

What is that Smell?! How to Take Action When Your Sewer Line Has a Foul Odor

sewer

If you have recently noticed unpleasant odors coming from your sewer line, then you need to take immediate action. Those smells could be the result of serious damage that must be addressed as quickly as possible. Here are a few steps that you can take to protect your property from expensive water damage.

Check the Trap Pit

The odor that you are smelling is most likely a compound known as hydrogen sulfide. This gas typically has a “rotten egg” smell, and it is produced by decaying organic material. When you smell that odor, the first area you should check is the trap pit. The trap pit can let out odors from the sewage line if the trap plugs are cracked. Trap plugs are relatively inexpensive, and they can usually be replaced with a few basic tools.

Closely Inspect Your Yards

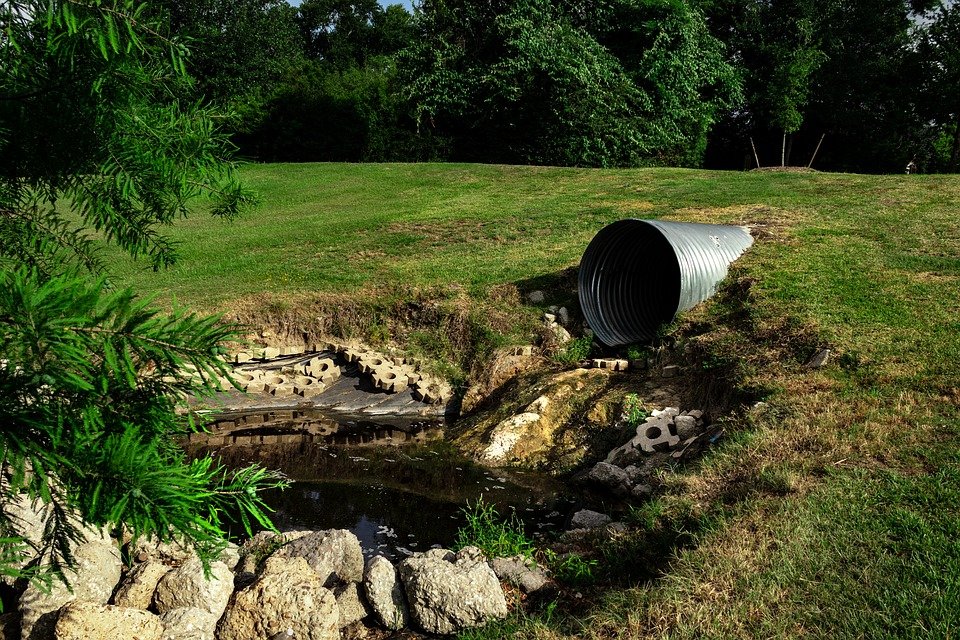
When the city’s sewage lines become backed up, you may smell those odors out in your yard or near the street. You should also keep an eye out for mud or particularly lush grass near the sewage line that leads away from your home. Most utility companies will quickly send out a repair team whenever the lines become clogged or damaged. Those issues usually take place when the lines freeze or there is a particularly heavy storm.

Look for Leaks

At least once every few weeks, you should look around your property for any signs of plumbing leaks. Even if they aren’t producing any unpleasant odors, you still need to catch slow leaks before they cause too much damage. One easy way to check for leaks is to turn off all of your faucets and take a look at the water meter. The water meter will continue to move if there is a leak somewhere in the system. You can also look for secondary problems such as mold, mildew, sagging floorboards, and moisture in the crawlspaces. Those leaks can produce a sewage smell if the water damages any organic materials.

Have the Sewage Line Inspected and Repaired

If you still can’t identify the problem, then you need to contact a plumber to schedule an emergency appointment. Luckily, many plumbers now offer quick and affordable fixes such as trenchless sewer repair. Unless the damage is particularly bad, a plumber might be able to repair the system without digging up your yard and taking apart the sewage line.

Even if the odors are coming from a clogged sink or shower, you still need to address the problem as quickly as possible. Taking care of minor sewage issues early on could help you avoid expensive problems down the road.

4 Reasons Why It’s Important to Know How Old Your Home Is

4 Reasons Why It's Important to Know How Old Your Home Is

Just like it can be helpful to know how old a person or a pet is, it can be worthwhile to know how old your home is. This can provide important clues about how long a component may last for or what materials it was made from. Let’s take a look at some reasons knowing the age of your home can be important.

The Home Could Contain Harmful Chemicals

In decades past, it wasn’t uncommon for asbestos or lead paint to be used when creating a home. Society now knows that lead paint chips could cause brain damage if eaten or swallowed for any reason. Asbestos can also cause health issues if inhaled or touched. Therefore, knowing the age of your home could clue you in as to whether there are repairs that should be made right away.

New Homes Could Come with Warranties

A new home might have a warranty on one or more of its components. If this is true, it may be possible to repair a roof or furnace at no charge or with limited money spent out of your own pocket. Even if a furnace isn’t under warranty, it can still be worth it to call a heating repair services company if yours isn’t working right.

An Older Home Could Have Outdated Electrical Work

Homes that were built decades ago may still rely on fuses instead of a modern circuit breaker system to send electricity around the house. This may reduce the amount of electricity that the home can use at one time, and it can also increase the odds of a fire. If you live in or buy an older home, be sure to check the wiring to make sure that it is safe.

Older Homes Could Be Worth More

Houses that were built 100 years ago or more could be desired by some home buyers. This could mean that you get more for the home when you sell it even if it isn’t in perfect condition. If your house was once occupied by a famous person or someone who was known in the area, it could further increase the home’s perceived value.

Knowing the age of your home can tell you a lot about how well it is built or if there are any hazards to look for. If you do find that an older appliance in your home isn’t working, be sure to have it looked at to see if it can or should be upgraded.

How to Clean Up Before and After a House Party

When having a party, it’s crucial that the house is clean and presentable for guests. Unfortunately, it’s easier said than done.

You don’t only have to deal with the cleaning before the party, you also have to tidy up after the event. To have a stress-free cleaning “spree,” below are helpful before and after-party clean-up tips.

Before the Party

The first thing you have to do before the party preparations is to evaluate the party venue. Look at the things you need to do and create a strategy to accomplish cleaning tasks in an effective manner.

  1. Imagine you’re a guest

Due to your daily routine, you may overlook some clutter and dusty corners. Walk around your home from a guest’s perspective, and identify flaws and dirt. List down anything that catches your eye and requires cleaning.

After your walk-through, consolidate your list. Break it into achievable cleaning tasks. You can gather your family members or get a party helper to help you clean. Having another person split the tasks with you will help you finish it all quickly.

  1. Tidy up guest areas

While you’re busy cleaning all parts of the house, it’s important that your guests have enough room to move around.

  • Move your fragile or breakable items to safe places, away from messy spills and errant elbows.
  • Straighten your coat closet and entryway. Makes sure that you have a room for guest’s outerwear, and extra hangers whenever necessary.
  • Scan the living spaces for any unnecessary items. Clear tabletops and walkways to make room for your guests’ glasses and plates.
  • Clear the clutter in your living room, and take the opportunity to place them in their proper places.
  1. Prepare the kitchen

Your kitchen needs to be in tip-top condition for the party. Since you’ll be spending most of your time here preparing or cooking food for your guests, it’s best to scrub everything clean now.

  • Defrost and clean the refrigerator. Throw away any leftovers and food which is no longer edible. Make room for party food and move items you no longer use at the back. Also, make sure you have enough room in the freezer for ice.
  • Clean your gas range or cooktop as well as hard to reach surfaces or grates.
  • Mop up the kitchen floor and use the right household cleaner in washing drawers and handles.
  • Empty your trash and recycle bins outside.
  1. Get ready for the party

You have to finish a few things before your guests arrive. This is the opportunity for you to check if everything in your home is in its best shape for the party. You may miss some corners so it’s good to do some double-checking.

After the Party

After the fun of the party, there’s much cleaning work to do. It’s now time to face the party mess. Tackle each task one at a time so that cleaning up won’t overwhelm you.

  1. Kitchen and Dining Room

If you cook for the party, chances are there may be a mountain of dishes waiting to be cleaned. For pans or dishes that are hard to wash, leave and soak them in warm water to soften the residue. While you’re soaking the plates, clean the kitchen worktops and wipe the inside of your fridge.

  1. Guest Areas

Since this is where your guests hang out during the party, this will be the dirtiest place in your house. Plastic, trash and empty cups may be hiding in corners. For messy areas like these, a professional deep cleaning service will help you tidy up in no time.

  1. Guest Bedrooms

You may have guests whom you will allow to stay for the night because they’re too exhausted to go home or live far away. The first thing to do is to strip the beds to wash the sheets and all duvet covers. While those heavy beddings are swirling in the washing machine, attend to other tasks, from wiping down surfaces (start from the highest spots) to cleaning and disinfecting the bathroom.

Remember to vacuum the floors, and check the drawers for any items your guests may have forgotten.

  1. Bathroom

Besides the guest areas, your bathroom would have taken a beating, and had its fair share of frequent use. Give your shower curtain a good clean using a double strength cleaner. Disinfect and clean your toilet thoroughly. Remember to follow the instructions on cleaning products for safe and effective use.

No matter how numerous and heavy the cleaning tasks are, don’t devastate yourself, and do them one at a time. And if you know you don’t have enough time to clean, it’s fine to seek help from others. With the assistance of your family or better yet, the expertise of cleaning professionals, the clean-up process becomes much quicker, giving you time to rest when all the after-party is work done.

AUTHOR BIO

Rania Bellos launched Dust Busters Cleaning Services with the help and support of her husband after spending 15 years working in the banking and finance industry in France, Lebanon and the UAE. She welcomes the daily challenges and exciting opportunities provided by the highly competitive residential and commercial cleaning services market.


Copyright © 2024 | Bruzzese Home Improvements | All Right Reserved | Web Design & Development by QualityMust