fbpx ...

A Step by Step Guide to Remodeling a Basement

Do you know finishing your basement will give a return of 70 to 75% on your investment?

An unfinished basement works perfect as extra storage space, but it could be of greater value if you finish it. It’s possible to convert that basement into a billiard room or a new office through remodeling.

Remodeling and finishing a basement is costly, but you can spend less if you opt for the DIY version. However, this will demand creativity and a considerable amount of time.

Below is a step-by-step guide to remodeling a basement.

Step 1: Decide How You Want to Use the Space

Before you begin renovating your basement, have a plan on how you will use the space. Understanding what you want will help you decide everything from what color to paint the walls to the type of floor you want.

Common basement ideas for a newly renovated basement include a home gym, a playroom for kids, or an added bedroom.

Step 2: Come Up With a Budget

Before you begin to renovate your basement, ensure you determine how much the project will cost. A budget is a vital step to the whole renovation process.

A budget should steer you in the right direction regarding what finishing features and materials to use.

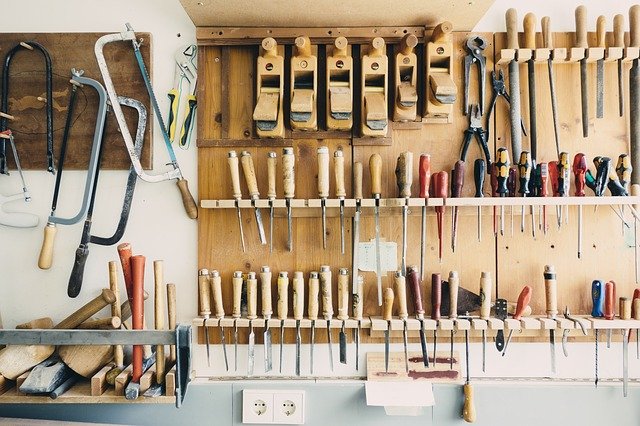
Step 3: Clear Your Space

To begin basement renovation, clean out everything currently occupying basement space. This will offer you space to work conveniently.

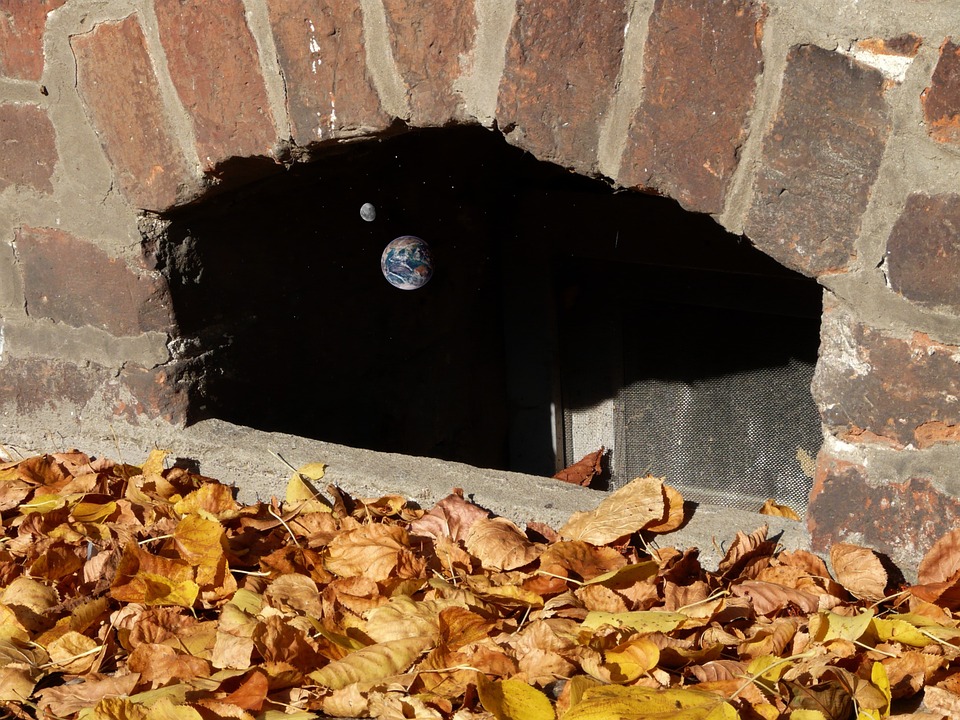
Step 4: Carry Out a Moisture Test

If you were using your basement for storage, dampness might not have been a concern. However, moisture and dampness could be a significant problem now that you are ready to renovate it.

You can test for moisture through a humidity test or by running a calcium chloride test. If the relative humidity is below 40%, you are good to go. However, anything close to 80 indicates you need to take corrective actions.

Installing a dehumidifier and keeping air circulating will help correct the situation.

Step 5: Apply for Permits

Before renovating your basement, ensure you familiarize yourself with local codes for renovations. At times, you might require to apply for a building permit to ascertain your building fulfills the requirements for renovations.

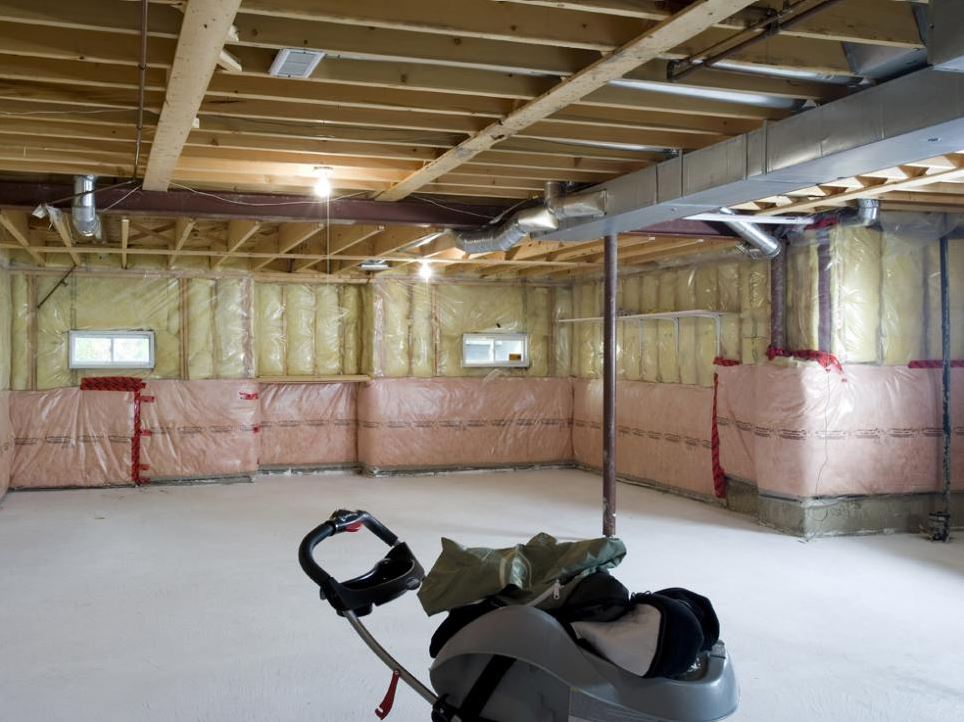
Step 6: Insulate Your Basement

Once you are done with preparation, it’s time to start renovating. Begin with insulating the walls.

Use spray foam or foam board as insulation. This will help reduce energy costs and increase comfort levels in your basement.

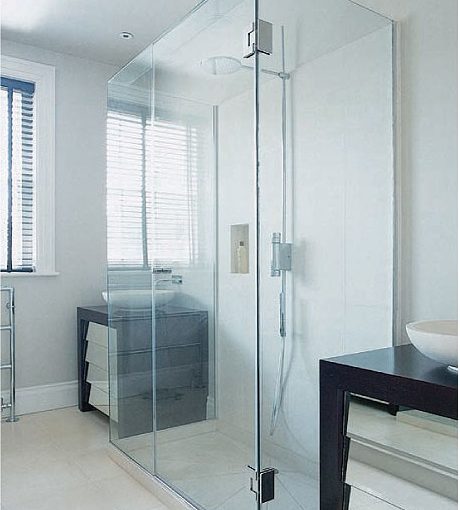
Step 7: Paint and Floor Your Basement

To have your basement walls looking great, add several coats of paint. Once you are done with painting, choose a basement décor that matches your style.

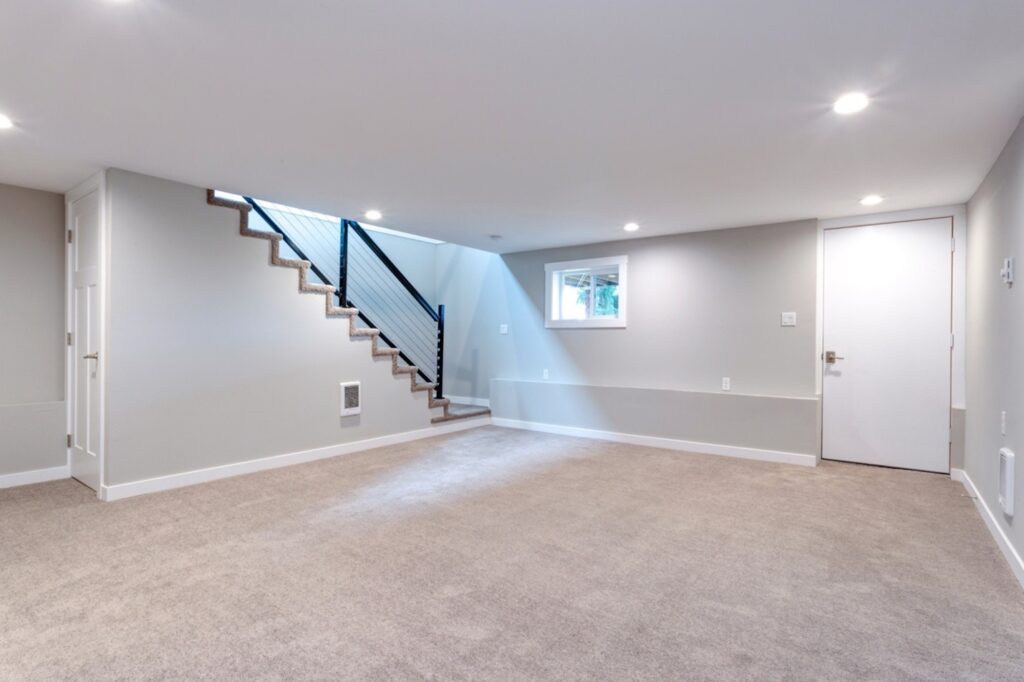
The flooring in your basement can set a tone for your entire basement. Floating floors with laminate are a good choice.

Also one can choose to go with carpets. Click here for basement carpeting advice and recommendations.

Remodeling a Basement Made Easy

Remodeling a basement doesn’t have to be a daunting task if you follow these steps. However, if you run into trouble, it’s best to call home renovation experts for professional help.

For more home improvement guides, visit our website today.

How to Make Sure You Cover All Your Bases When Finishing Your Basement

Over time most homeowners look to see how they can get some extra living space in their home. One of the most natural ways to accomplish this without needing to build an addition onto the house is to finish off the basement.

The Benefits of Finishing off a Basement

Because the basement is lower-level space, it tends to stay cooler naturally in the summer. Finished basement space can make great rec room areas to spend time in during the warmer months. Also, rec rooms are great places to set up game rooms and entertainment rooms for gaming, movie rooms, and table sports games. The concrete walls and floors are great sound barriers.

Waterproofing

When finishing off a basement , it is important to make sure the space is correctly built and designed, so there are no problems with mold, humidity, and mustiness. One of the best ways to accomplish this is through having the space checked out for any water penetration concerns and having it waterproofed. This usually involves having sealants placed on the concrete as well as installing other protective barriers against potential water penetration and dampness. Once this is complete, designing and building the area to be finished off can begin.

The Furnace Area

If the furnace and water heater are located in the basement, building a fire-safe room around them is recommended. It is also a good idea to install smoke detectors and carbon monoxide detectors in the basement area around the furnace and the finished space as well. This will help ensure that any problems that arise from the furnace not running correctly will be detected quickly.

Electrical Considerations

When it comes to electricity, there are a few essential things to consider. As always, it is recommended to use a professional electrician when installing basement electricity. If the area is being designed as an entertainment room or gaming room, it is vital to install sufficient electrical capability. There should be several outlets per wall, and all outlets should be GFCI rated outlet equipment.

Flooring and Carpeting

Because the base floor of all basements is concrete, it is recommended that a sealant be placed on the concrete floor, and extra padding be installed before carpeting is put down. Concrete does not hold in warmth so that the floor can get rather cold without extra padding. While traditional sub-flooring is not needed, there are a variety of great padding choices like frothed foam padding that can make the carpeted flooring stay at a much more comfortable temperature.

No matter what the basement space is going to be used for, taking the time to plan the build-out properly with considerations for the concrete foundation is essential to ensure the area is comfortable and enjoyable for long-term usage.

How to Transform Your Basement into a DIY Workshop

repair-diy

A solidly built basement sounds like a perfect choice for a DIY enthusiast’s workshop. The space is already there, the temperature is usually mild, just a few degrees lower than in the rooms above, utilities’ junctions and outlets are readily available, and the whole area is probably accessible from both indoors and outdoors. Still, in order to start moving your tools and machines down, there are several considerations to take into account. Once you clear out these, your basement can become an enjoyable space for your projects.

Prepare the basement

Before your workshop can take its shape, it’s essential that the whole area is dry, accessible and that it meets local building codes. When it comes to basements, waterproofing can be a challenging project, especially if you live in an area with a high water table or a region prone to flooding. Even if neither is the case, basement air is often moist from the surrounding earth and lower temperature. Further on, some building codes also require a fire egress or emergency exit if a basement is to be used as a workshop. It might be a large accessible window or a door with an accessible hallway and stairs.

Provide electricity and lighting

Not many basements are projected as spaces with plenty of light and sufficient outlets, which is something to be considered. All the electrical outlets that your electrician installs need to be grounded and wired on 20-amp circuits, with some building codes requiring Ground Fault Circuit Interrupters (GFCIs) for every outlet installed in a basement. Not to mention that large, power-hungry machine tools such as table saws and lathes need their own separate circuits. While overhead fluorescent or LED lights provide general lighting, consider additional clip-on work lamps for task lighting.

Bring in the machines

Although your workshop will constantly grow as your skills as an amateur handyman develop, there are some essentials that no workroom can go without. As a great complement to an ordinary circular saw, a cordless variation is handier and easier to use in tight spaces or awkward situations, just like a cordless drill. However, a drill press is indispensable for its precise and even action. Fitted with a proper measuring stop, your circular table saw can turn into a high-productivity workstation ideal for extensive house projects which require a large number of identical or precisely cut pieces.

basement diy

Set up the workbench

Although hardware stores and home centres sell a range of workbenches, you can probably build one of your own, of equal or even better quality, and for less than what you’d pay for a ready-made one. There are roughly three types of workbenches: the traditional cabinetmaker’s bench, the utility workbench and the metalworking bench. Traditional benches have thick hardwood tops and sturdy wooden legs. They have a freestanding configuration, so you can place them wherever it suits you, and work around all four sides. The extra thick worktop made of hard maple or beech laminated blank absorbs the vibrations, while the added weight keeps the bench more stable.

Air quality and ventilation

Sawdust and fumes from paints, stains and varnishes can deteriorate the air quality in your basement workshop. Not only is contaminated air unpleasant to breathe but also highly fatiguing and unhealthy. Portable fans are a great solution for moving the air towards the door and windows while you’re sanding, sawing or applying a coat of varnish. By placing a fan in a window or doorway opposite another open window, you will create a cross breeze that removes the dust and fumes.

It’s not a rare case that a home’s basement serves as a makeshift storage of items that are better given away or stored properly elsewhere. In a few essential steps, your basement can take a turn toward becoming an ultimate DIY workshop and a breeding ground for your future projects.


How to Remodel Your Basement One Room at a Time

How to Remodel Your Basement One Room at a Time

When you need more space but you like your current home, remodeling the basement is a great option. This solution avoids the need to expand up or out, which may not be an option. As you make your plans to remodel the basement into a living space, keep these four important tips in mind.

Waterproofing the Walls and Floors

Basements are at an increased risk for dampness because of their contact with the soil. Waterproofing the perimeter walls and flooring are important steps in the basement remodeling process. This can be accomplished through installing a perimeter drain system, reinforcing the walls and coating them with a waterproof sealant. On the exterior side of the basement, strengthening piers and additional waterproofing materials can be applied.

Installing a Sump Pump

Installing a sump pump before finishing your basement is also important to the remodeling process. The sump pump removes water collected in a pit by the perimeter drain system. Sump pumps are essential in areas with high water tables. The pump works to prevent a flood of water from seeping into your remodeled space.

Using an Air Compressor

Using an air compressor makes the remodeling process more efficient. An air compressor can be used to power key tools, which is helpful in a poorly-ventilated basement. Some companies, like Kruman Equipment Company, know how helpful these machines can be for remodeling projects. The compressor can operate drills and other hand tools so that no emissions are created. Compressors are also ideal for lifting heavy items and for clearing dust and dirt out of tight spaces.

Putting Up Interior Walls and Ceiling Tiles

Once the space is waterproofed, interior walls and ceiling tiles can be placed. The interior walls are usually framed with wood and finished with sheet rock or drywall. Ceiling tiles make for easier access to plumbing and air ducts to the rest of the house. You can arrange the interior walls to allow for a utility space, recreation room, workshop, laundry room or a “man cave” to suit your lifestyle or other plans for the space.

Remodeling your basement allows you to increase your living space without making any changes to the size of your house. It is an efficient and environmentally-friendly project that does not add to your carbon footprint, heating or air conditioning costs. The remodeling process for basements is complicated because of the potential for water intrusion, but the effort can be worthwhile because of your increased enjoyment of your home. The right tools and some helpful professionals will ensure a successful project.

How to Combat the Annoying Basement Smells and Odor?

How to Combat the Annoying Basement Smells and Odor?

Basements are great places for home improvement projects.  They can act as a storage space, entertainment area, impromptu room, or serve some other purpose. However, basements are also damp locations that are one of the biggest domestic odor producers. Unpleasant smells are usually the result of mildew and mold growth, so you should aim your efforts at these. Fortunately, there are many ways to improve the conditions and maximize the comfort in your basement.

Root around

Basement remodeling is one of the most exciting upgrades, and it is best handled by professionals. Bruzzese Home Improvements can carry out basement renovation for you and allow you to expand the living area. This gives you a well-designed and clean space. However, the problems could occur later, as the installations deteriorate. Also, not everyone can afford quality services, and many people go DIY when assembling a basement space.

basement remodel

Hence, some uninvited guests come to spoil the party: the incommodious smell and odor. Basements that smell like sewers are one of the most widespread issues homeowners deal with. Some of them decide to utilize perfumed candles or incense, but this brings only the temporary relief. Moreover, these products can give rise to various health issues. If you want to address the root of the problem, you have to take another approach.

The culprit

It is advisable to first check the plumbing system and search for leaks and cracks. Even the tiniest fissures and crevices can cause severe damage over time and damp the walls. Repairing and sealing them should allow you to keep the basement dry, and a waterproof paint coat or sealant usually does the trick. Bear in mind, though, that the orientation of the terrain around the house could also cause rainwater puddles.

Also, if you have a water trap under the floor drain, there is a possibility that water evaporated and sewer gas came up through the drain. To combat this menace, you can pour the cooking oil down the drain. Furthermore, another source of the problem could be the ventilation system. The remedy for this situation is regular maintenance. So, sweep the vents and ducts annually and enjoy air which is odorless and pure.

How to Combat the Annoying Basement Smells and Odor?

War on clutter

The foul smells could also originate from the piled-up dirt or malodorous objects. Basements are often used as storages, and spaces that accommodate hoarding habits. Hence, it helps to de-clutter the space and get rid of items you do not really need, those that are only collecting dust and nasty smells. And it goes without saying that objects beyond repair have no place in your environment. Clothes that have been stored for a long time, upholstered furniture, and floor coverings should be washed and dried if you want to keep them.

Remember that it pays off to have tools ready in the store. Find the best air purifier for mold, which should be able to remove the very source of mildew and mold. Or, you can take advantage of homemade solutions, like undiluted vinegar or a mixture of water and bleach. Apply them to the trouble spots and just do a bit of scrubbing. Another DIY option is to use baking soda every few months to soak in the odor. So, choose your weapons and do not stop until the vile stench is dispelled from your home for good.

Home, savory home

It is of the utmost importance to identify the source of the smell and treat it accordingly. Odors and other nuisances thrive in a certain kind of interior climate, predominantly in spaces that have problems with moisture and dust accumulation. So, wash and dry furniture and clothes thoroughly, and do away with the clutter. Conduct maintenance on a regular basis, and check the plumbing installations. Learn how to eradicate the smells and odors and continue using the space without any discomfort.

This article was written by Zoe Clark. Zoe is an environmentalist, home decorator and DIY enthusiast. When not obsessing about designing perfect homes, she is spending time with her family.

Unfinished Business: How to Care for a Crumbling Basement

basement

Considering their importance and utility, basements rarely get their fair share of TLC from homeowners. Older basements in particular are often ticking time bombs that can impact the health of the rest of the home if they’re not looked after properly. To ensure your own basement remains sound, it’s worth your while to adhere to these prudent practices.

Reduce Humidity & Standing Water
Ultimately, moisture is what kills a foundation the fastest. It’s important to keep a basement as dry as possible for its longevity. Install an automated sump pump or two if you experience standing water or flooding every spring. While you’re at it, set up a dehumidifier to keep the air as dry as possible.

Landscape for Long-Term Success
Whether your foundation is a stone-walled number or a poured concrete model, there are in-ground ways to keep water away from the basement. Digging out a perimeter trench, filling it with loose rock, and adding a few drainage pipes away from the building works wonders in making sure it stays dry and safe. Be sure to have an expert contractor do this kind of work.

Keep the Pests from Doing Damage
Varmints are especially problematic if you own an older home with a stone foundation since it’s easier for them to get in and cause damage. Come up with a strategy to prevent them from getting in and wreaking havoc by using traps and sonic deterrence. Chem-Wise Ecological Pest Management Services might have other options that can help deter animals and bugs from getting inside in the first place that work better for your home or location. Contact a quality pest control company to advise you of the right solution.

Reinforce Every Element Possiblebasement-old masonry
Keeping your foundation and basement walls in tip-top shape is a major priority regardless of the age of your home. Have concrete foundation cracks filled and strengthened when they appear, and make sure stone foundation mortar work is patched up regularly. Finally, use jack stands and beams to support floors and take stress off of basement walls.

Carefully Seal Up Each Surface
Your basement walls should be an impervious barrier between the ground and your home’s interior. If your basement walls consist of mortar, “parge” them by applying an even layer of mortar. If they’re concrete, thoroughly dry out the basement area with a dehumidifier and desiccant agents before applying a layer of waterproof sealer to the inside walls.

If you live in any area where humidity and high precipitation are normal, keeping an eye on basement walls is a must. Even after you’ve performed each of the preventative steps detailed above, it’s important to monitor the situation and enact fixes as needed to head off problems before they snowball into catastrophes. 


Renovate your outdated bathroom with a frameless glass shower screen

The bathroom is one of the most important rooms in your home and it can be one the larger projects (along with the kitchen) to fix up. When you consider the amount of plumbing changes that may be involved as well as durable fixtures, the cost of simply updating the look, not just the functionality, may go beyond the average Joe’s budget. With this in mind, it is important to do your research when deciding to update your bathroom as there are ways to renovate your bathroom that don’t actually require completely overhauling the whole room, fixtures and all.

Bathrooms traditionally consist of a basin, bath and a shower – or shower /bath combination. In older bathrooms, the fixtures are often ceramic and a little out of date, especially when you are dealing with the older gaudy colours like pink, green and orange. You could paint over the existing fixtures to update the colour palette and you can try retiling – but this can put your bathroom out of action for a while and you risk air bubbles popping up if the job isn’t done carefully. Another option, one that is going to seem so simple and obvious when I mention it, is just replacing your shower screen! Your average framed shower screen can quickly create a visual barrier within the room, and when you have quite a compact bathroom, creating the illusion of space is very important. Frames also create more work when it’s time to clean but installing a frameless shower screen, like those from Frameless Impressions, you can instantly open up the space in your bathroom and reduce your cleaning time! A clear, frameless shower screen can turn a compact bathroom into one that creates the illusion of more space making your time in there a lot more enjoyable. Their flawless appearance adds a touch of elegance and sophistication to any old bathroom.

Frameless shower

There is quite a bit of versatility with frameless shower screens too. You have the ability to choose which way the door opens or whether it slides and what kind of tint you would like, if you want one at all. They are sleek and sturdy, built with thick, heavy glass to make up for the lack of frame.Elderly people, children or people with physical disabilities will enjoy the frameless design as there is no danger of tripping on a step. There is also the freedom of creating a large, wall-to-wall shower if the extra room is available.

A frameless shower screen really can dramatically alter the appearance of your bathroom without breaking the budget. You don’t have to put up with those brown tiles and that mouldy shower curtain anymore when a comfortable new shower is this easy to achieve.

Guest Post By:

Ivy is a home renovation enthusiast who spends her time researching current and affordable renovation trends.

Ready to update your outdated bathroom?  Give us a call or send us an email for a free in home estimate! ~Gary B.


Mold growth in your home

Take control and mitigate mold growth in your home

moldDamp, dark areas of the home, such as an unfinished basement, can often be trouble spots for homeowners hoping to increase their living space. Left unfinished, these areas of the home can potentially suffer significant damage, be prone to flooding or develop mold. When it comes to home improvement, homeowners are wise to consider the affects of moisture and mold buildup and how they can be combated.

Mold growth, usually a result of excess moisture, also can be detrimental to one’s health. The Center for Disease Control and Prevention says that mold can survive in almost any conditions, and can cause visual, respiratory and even skin problems. Mold growth can also contribute to poor indoor air quality.

Homeowners looking to turn an unfinished basement into a liveable space or take control of mold finished basementgrowth can help protect their home from unexpected expenses later on, and also add value to their home. There are several techniques to control moisture penetrating their home. The U.S. Environmental Protection Agency suggests homeowners consider techniques that manage water outside the foundation walls, ensure that the home is properly ventilated with exhaust fans in at least each bathroom and the kitchen, and size the home’s air conditioning unit correctly. Homeowners are also recommended to use construction techniques that can help control water, air movement, vapor diffusion as well as condensation.

More often than not, mold is found in homes that do not have adequate insulation. As moisture builds up within walls, the interior of the walls can start to slowly rot. This rot can emit a foul smell and eventually reduce the stability and quality of the home. Homeowners who want to address moisture and mold growth should consider a complete solution that halts future opportunities for mold growth and prevents potential costly repairs in the future.

Using a modern insulation material such as spray foam insulation is one solution that can assist. As a vapor-permeable material, spray foam insulation allows moisture to travel through it, enabling it to dry completely. Additionally, spray foam insulation is not considered a food source for mold, thereby quashing the probability of further mold growth. Properly insulated wall cavities and crawl spaces control moisture, minimize air leakage, save on energy bills as well as improve occupant comfort.

Getting to the root of mold issues is critical for any homeowner looking to add investment value to their home. A material like spray foam insulation can be applied within seconds to the walls, ceiling and floors of a basement to plug any cracks or gaps to deliver immediate results.

Basement renovations

Most of us have basements in our homes that are completely under utilized.  Your basement tends to become the place where you put stuff that you don’t know what to do with.  Our basements are usually disorganized and, frankly, kind of a mess.

I recommend you start by sorting through all the stuff down there and start purging!  If you haven’t used it or missed it, you probably don’t need it.  Have a yard sale, give it away to your favorite charity or just put it out by the road (I’m sure we’ve all heard the expression “One man’s junk is another mans treasure!”) and it will most likely be gone the next day.

Organize:  Section off an area of your basement where you need to store essentials (Holiday decorations, gardening supplies, tools, etc.).

Now we have an area to work with.  What I love most about remodeling basements is that we can provide an area where you and your family can gather and have fun together!  Here are two idea’s for your new basement:

Basement converted to a gym, White Plains, NY

Remember those New Year’s Resolutions to get fit and healthy in 2012?  Well, we can help you with that!  Why go to the gym when we can bring the gym to you?

Basement converted to a hockey rink, White Plains, NY

Imagine how much fun you and your family can have in your newly remodeled basement that we’ve converted to a hockey rink!  (Yes, these are actual remodeling jobs that we’ve done)

These are just some idea’s to get you started.  We’d love to meet with you and discuss how we can transform your basement into vision!

Copyright © 2024 | Bruzzese Home Improvements | All Right Reserved | Web Design & Development by QualityMust