
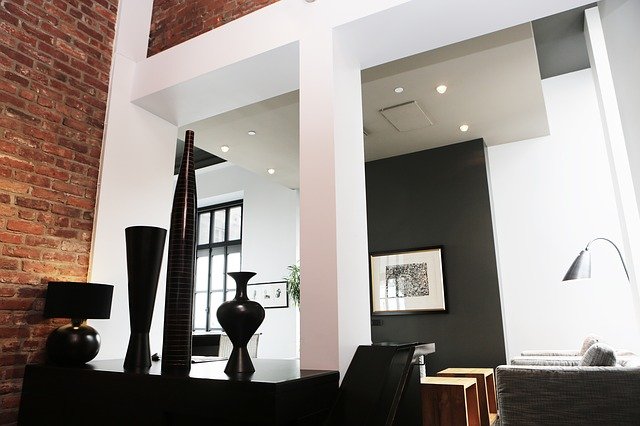
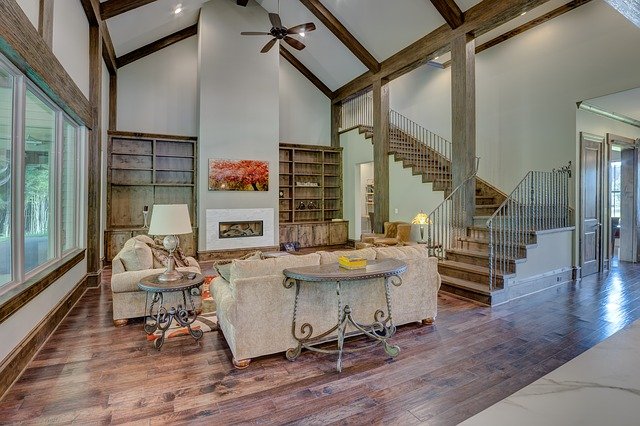
Ceilings have become an important part of home décor with various creative ideas how to make them look more attractive. Nowadays, homeowners prefer well-designed and decorated homes, where not only walls, door, windows and furniture are styled, but ceilings also need to be classy and fashionable. They are decorated and styled with exposed beams, embedded lights and chandeliers and the trend is to go higher. In that way, rooms appear more spacious, open and bright.
However, when it comes to painting those same ceilings and high walls, nobody is eager to do it. It may seem like a daunting and overwhelming task, but if you follow these tips, it doesn’t have to be so.
Room preparation
Every successful project starts with good preparation and organisation. Firstly, make sure that you’re painting in a well-ventilated area, with open windows or with box fans placed in windows and doorways. Next, protect the floors and furniture from splatters and spills with drop cloths or tarps. If you can, remove as much furniture as possible to other rooms. Secure the drop cloths on the floors with painter’s tape. Also remove all wall decorations, ceiling fans, and light fixtures.
When all is cleared, for the best end result, wash the walls and the ceiling with a clean cloth soaked in warm, soapy water to remove any stains and to even out the surface.
Ladders and scaffolding
In most cases, you can paint high areas on walls and ceiling using simple and appropriate ladders. They must be multi-functional, articulating with a platform, and at least 6ft high or more. Be careful not to stand on the top three rungs and never on the top step. Also, check the weight limit on the label to make sure it can handle your weight plus that of your equipment. It’s imperative that you stay focused and safe as you work standing on it. Don’t try to move position while on it and make sure they are positioned firmly on the floor.
Another option is to use scaffolds. They make a sturdy base and their platform offers plenty of space to keep your tools and painting supplies. However, they’re quite expensive and complicated to assemble, so it’s best to rent them at the local hardware store. One of the highly recommended types is the aluminium modular scaffolding system, which is the most durable, lightweight system on the market. As your final precaution, make sure it is completely and correctly assembled and locked into the position.
Painting
It’s best to start painting with the ceiling first and walls afterwards. Start with priming, so that the actual paint adheres better and lasts longer. Be sure to mark the surface with painter’s tape where it meets the walls so they don’t get stained. Use a roller with extension pole to reach really high places. After the primer has dried, paint over it with the colour paint of your choice.
To avoid excess spraying as you move the roller, roll it well back and forth in the shallow end of the paint tray. Paint the ceiling by moving in series of W overlapping strokes so you get even coverage. And “feather” the edges of each section with less pressure so there are no overlapping lines visible.
Cleaning up
When the painting is done, it’s time for the least favourite part – cleaning up. After closing tightly all the paint cans, disposing of the used ones and removing all drop cloths and tarps, it’s important that you thoroughly clean all your paintbrushes and roller because otherwise, they will harden up and you won’t be able to use them again. They can be easily cleaned with warm, soapy water and rinsed with clean water. For oil-based paints, you’ll need to use the paint thinner. When dry, hang your brushes and rollers on hooks.
As difficult as it may seem, painting your high walls and ceiling is not an impossible mission. With some extra effort, good planning, careful choice of paint and equipment, you can do it without professional help and enjoy the fruit of your work.
More from my site
 Looking For a Home Makeover? Use Our Guide To Help You Choose the Best Interior Paint To Get the Job Done
- Transform Your Home With Expert House Painting Tips
- Benefits of Hiring a Professional Contractor for Interior Home Painting
- 4 Repair Jobs to Leave to the Pros
 4 Home Renovation Projects You Can Tackle This Summer
 Exterior Aesthetics: What to Consider