On average, US homeowners spend $12,000 on kitchen remodels. The kitchen is often viewed as the heart of a home where family gatherings and homecooked meals happen.
If you want to boost your kitchen space but don’t have the budget for a full remodel, consider countertop replacement. It can breathe new life into your kitchen without breaking the bank.
In this step-by-step DIY guide, we’ll tell you how you can install new countertops in your home.
When to Replace Countertops
Replacing countertops is a big job, and you might not know when it’s time to consider an upgrade. It’s time to think about replacing your countertops when:
- You see stains, burns, or scratches
- They’re outdated
- You’re looking to boost value
- You’re renovating
- There’s been smoke damage
- You want an upgrade on a budget
If you notice any damage, replacing your countertops is an easy way to breathe new life into your kitchen.
1. Choose New Countertops
There are several options available if you’re unsure how to choose new countertops. Laminate is an affordable option that is easy to work with for a DIY project, but granite countertops and engineered stone and engineered stone are other affordable options that are easy to maintain with a more high-end. Natural stone tends to need extra care.
2. Get Your Measurements
Measure the dimensions of your countertops before starting work on your DIY countertop replacement project. It helps to draw a diagram of your counter with your measurements to have a visual guide for your project.
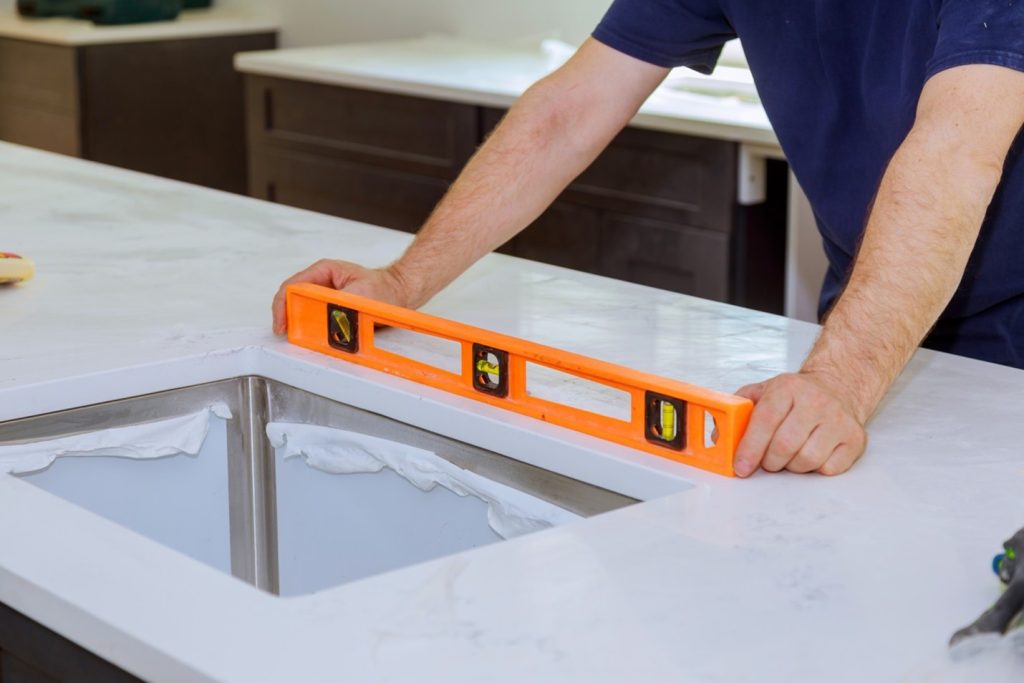
3. Remove Your Sink and Other Obstacles
Clear your countertops of any clutter or appliances. Then, you’ll want to uninstall your sink and set it aside as you work. Shut off the valve, uninstall the sink drain, and unhook the supply hoses before removal.
4. Remove Old Countertop
Look inside the cabinets for the brackets and use a drill to unscrew them. Once these are removed, you should be able to lift the countertop right off. If it gives any resistance, don’t force it, and double-check for any missed screws.
5. Cut the Countertop
If you didn’t order materials custom sized to your measurements, you’ll need to cut them to shape. Don’t forget to make your cutout for your sink or other obstacles. After cutting your dimensions, smooth down the edges.
This is often one of the most difficult steps. If you need some more help, check out these home renovation tips for skill levels needed for different DIY countertops.
6. Install
When it’s time to install your countertop, lift it into its place. To make things secure, drill back into the angle brackets inside your cabinets to tighten your countertop and prevent movement.
7. Shape and Clean Up Edges
If you notice any excess material, shape it to fit the proportions of your kitchen. Afterward, clean up the edges with bevel or trim to create an appealing profile.
8. Re-Install the Sink
Add the finishing touches to your DIY countertop installation by re-installing your sink. Attach the connections and slide your sink into the cutout you made on your countertop.
Countertop Replacement Made Simple
With this DIY countertop replacement guide, you can have a new countertop in as easy as 1, 2,3! A new countertop is sure to be a positive upgrade to your home that livens up your kitchen space.
Head over to our blog page for more home improvement articles.